I’m more than a little obsessed with my solid conditioner + shampoo. But let me tell you a bit more about why I went through the effort…
I haven’t really posted a lot about the fact that I live nomadically at the moment. Me and Andrew left from Sarasota, FL in April and we’re almost to San Diego, CA! Knowing that I’d be showering at camp sites and YMCAs between destinations, I wanted to keep my toiletries a bit more compact than I did on previous road trips.
This time around, I challenged myself to fit everything I needed into THIS hanger.*
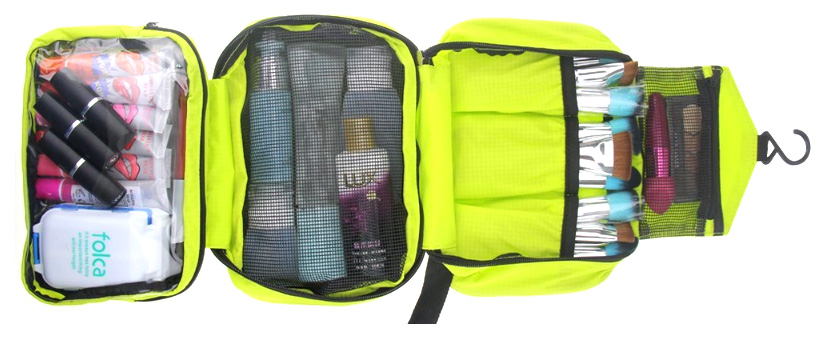
(*This does not include cosmetics or manicure items, which I do use for special occasions. Those are in another, similarly sized pouch. This is just showering and daily hygiene things. I’m not quite ultralight yet, but I’ll get there.)
My biggest concern, by far, was hair care. I have… a lot… of hair. It’s really long, and really thick. It requires specific care. See a picture of the craziness here.
After a bit of research, I decided one of the first steps in downsizing would be to switch to solid shampoo and conditioner. Solid shampoo is easy enough to find at Lush, or online. For a while I even took to using a common Dr. Bronner’s castille soap bar for shampoo. I switch it up. I am not loyal to any brand of solid shampoo so far, and I will probably try to make some myself when I get a chance.
While solid shampoo is fairly common, the reviews for Lush’s solid conditioners aren’t so good. I never even bothered trying them. Plus, the ones on amazon are quite pricey. I looked around and eventually found this really great guide on how to make your own solid conditioner. It seemed easy, so I went for it. The linked guide is straightforward, but I have some additional tips for this recipe!
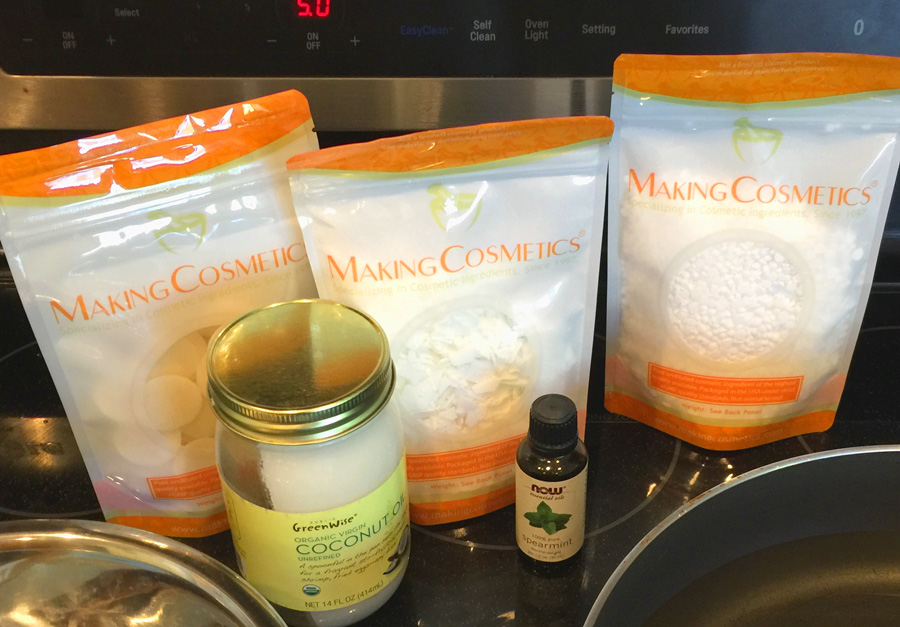
If you follow the recipe on Her Packing List, the ratios are pretty precise. If you followed them exactly for this size of a batch you’d wind up with a bunch of leftover ingredients. Well guess what, I just dumped all this shit together and it turned out perfectly. Also, I want to smell pretty, so to hell with the recommended 20 drops of essential oil, I included a full 1.5 ounces of peppermint essential oil. These ingredients cost a good $30, so I felt like I should get my money’s worth!
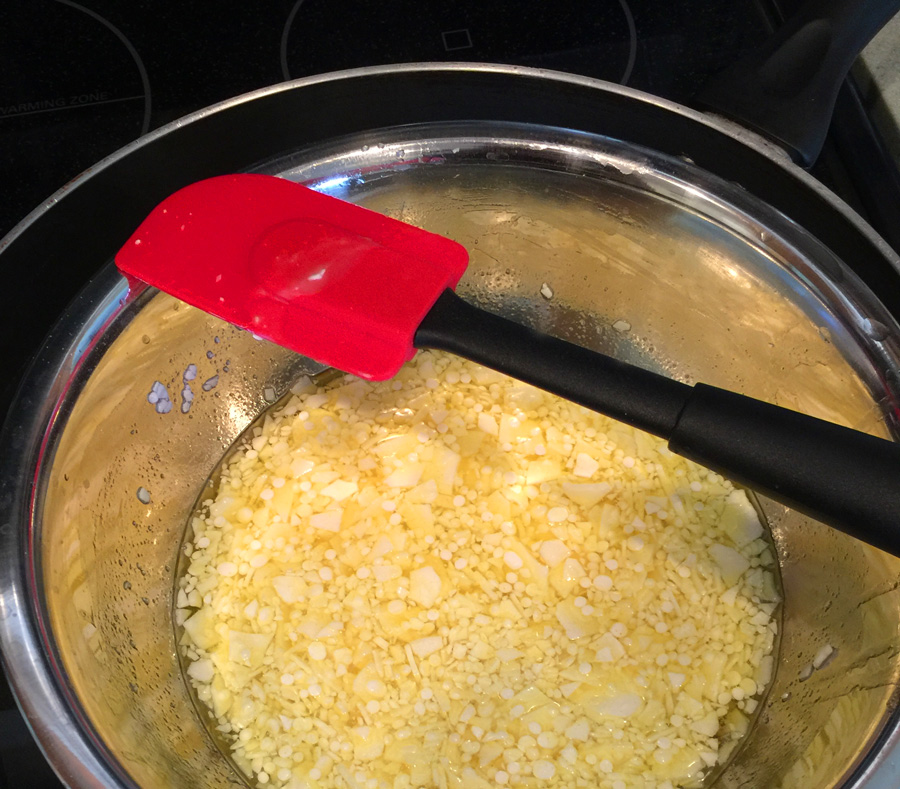
As soon as the ingredients had melted into a homogenous liquid, I carefully poured the mixture into a 6-count muffin tin, and let cool. As it was cooling, I added some rosemary and flowers from my mother’s garden to make them pretty and filled with good spirits.
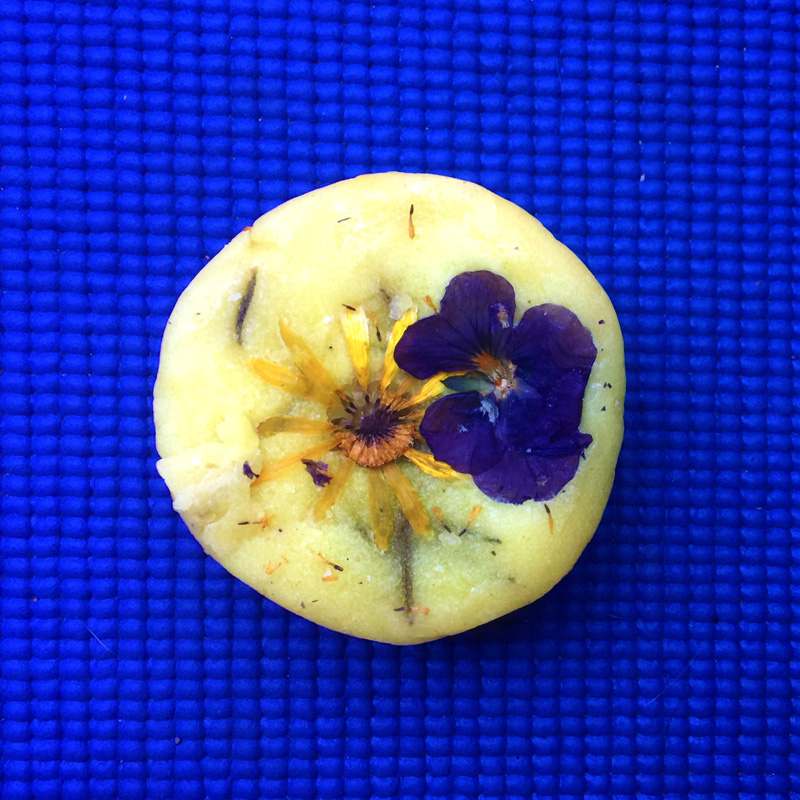 The best part about these solid conditioner bars is that they last a LONG time. I made this batch on March 17th and have used up only 2 (as of June 13th) of them. They leave my hair detangled and nourished, and they take up approximately 3 square inches. I simply love them. I’m eager to make my next batch and experiment with different scents, but that probably won’t be necessary until the end of the year!
This whole process started out as a “travel hack” but, honestly, I can’t see myself using shitty consumer-grade conditioner ever again. Once you understand what the active ingredients in most conditioners do for your hair, you’ll realize you’re paying for 95% water. There are so many additional benefits: Less plastic waste? Customizable scents? Completely organic?!? AND the fact that it takes up hardly any space in your bag? I’m so glad I did this.