My custom laser-etched sketchbook cover! (& other things!)

HERE’S MY SKETCHBOOK!!!

Since It’s New Year’s Eve, I have been dwelling on what an amazing year it’s been. I’m happy that I accomplished so many goals, and even though I’ve been doing the whole minimalist-digital-nomad thing, I still was able to *MAKE* some stuff on the road. I’ve been wanting to share this project for a while, so I’ve finally put this post together!

Since graduating from college, I had fallen out of the habit of sketching, and I felt my work suffering due to that. During times incredibly lacking in inspiration, I’d peruse my archives and try to refine old ideas. But that was only so successful. I set out to welcome the ritual back into my hectic life.

I knew I needed a sketchbook and select art supplies while I would be traveling in 2017, but I had to make sure it was personalized, travel-ready, convenient, and adaptable.


Let’s make a cover!

While in Phoenix, AZ this summer, I happened to be walking by the Arizona Science Center, and I saw that they had a Fab Lab! The next week, I was at the intro workshop with my sheets of neon acrylic, ready to make a bunch of cool stuff!

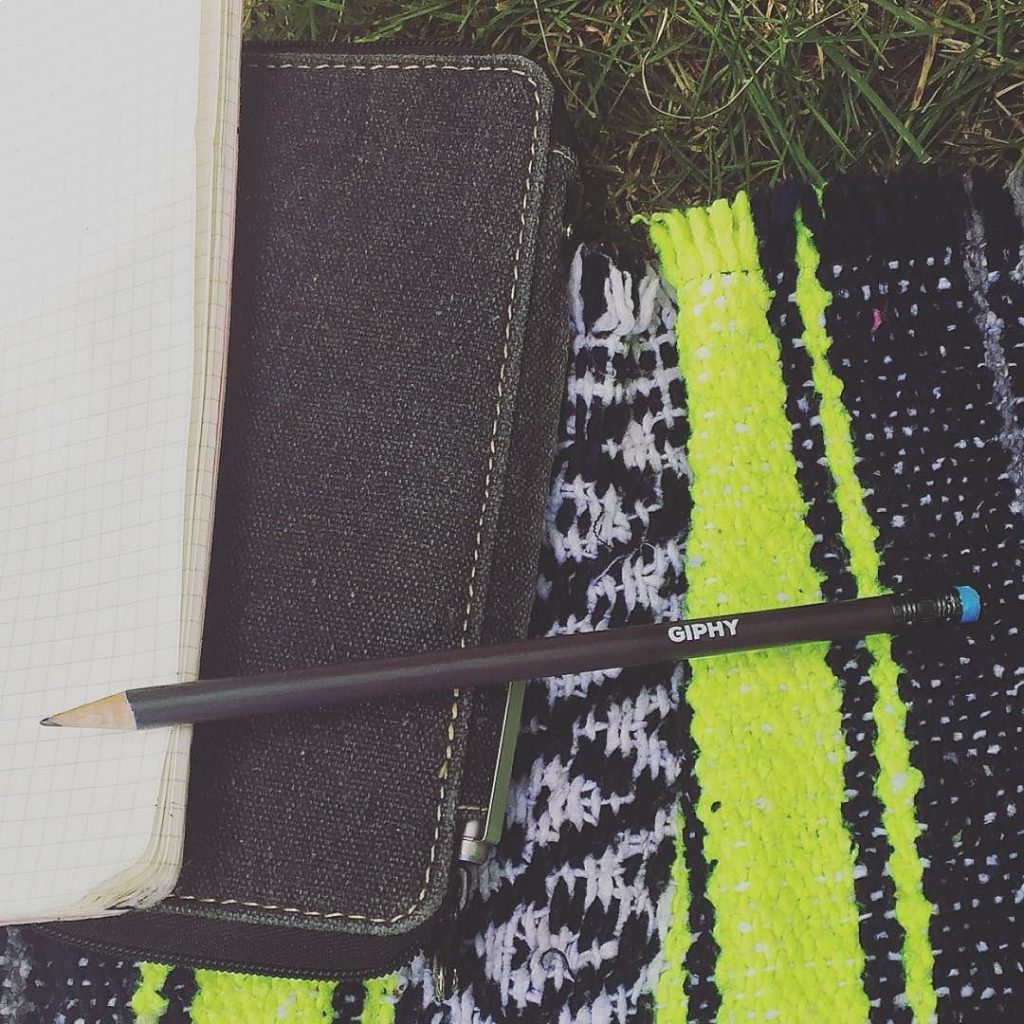
I wanted to be able to re-use my cover if I were to get a new sketchbook, so I chose to use the specs of a 7” x 10” Canson Mixed Media Sketchbook. This sketchbook is incredibly common. You can find it at any art supply store, and even at most Wal-Marts. When I run out of pages, I won’t have to go very far out of my way to replace them.

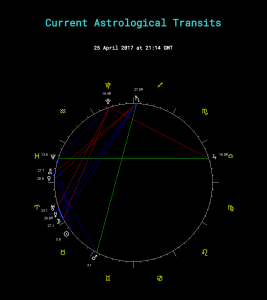
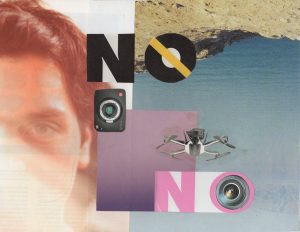
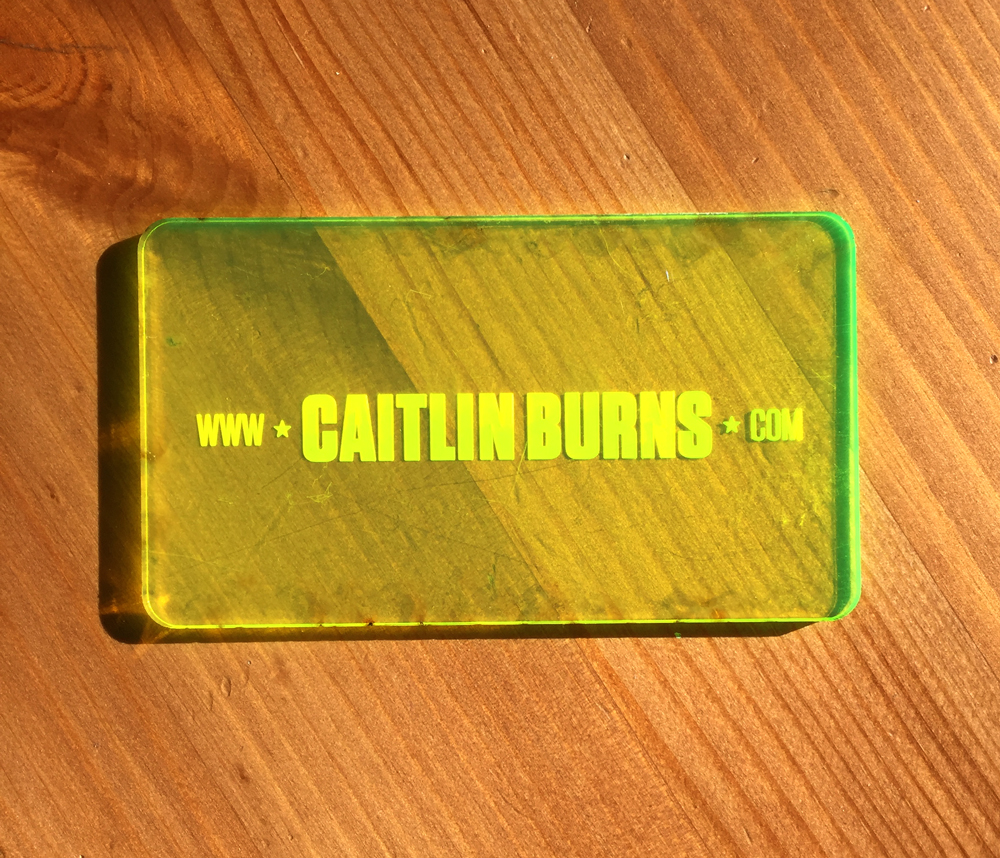
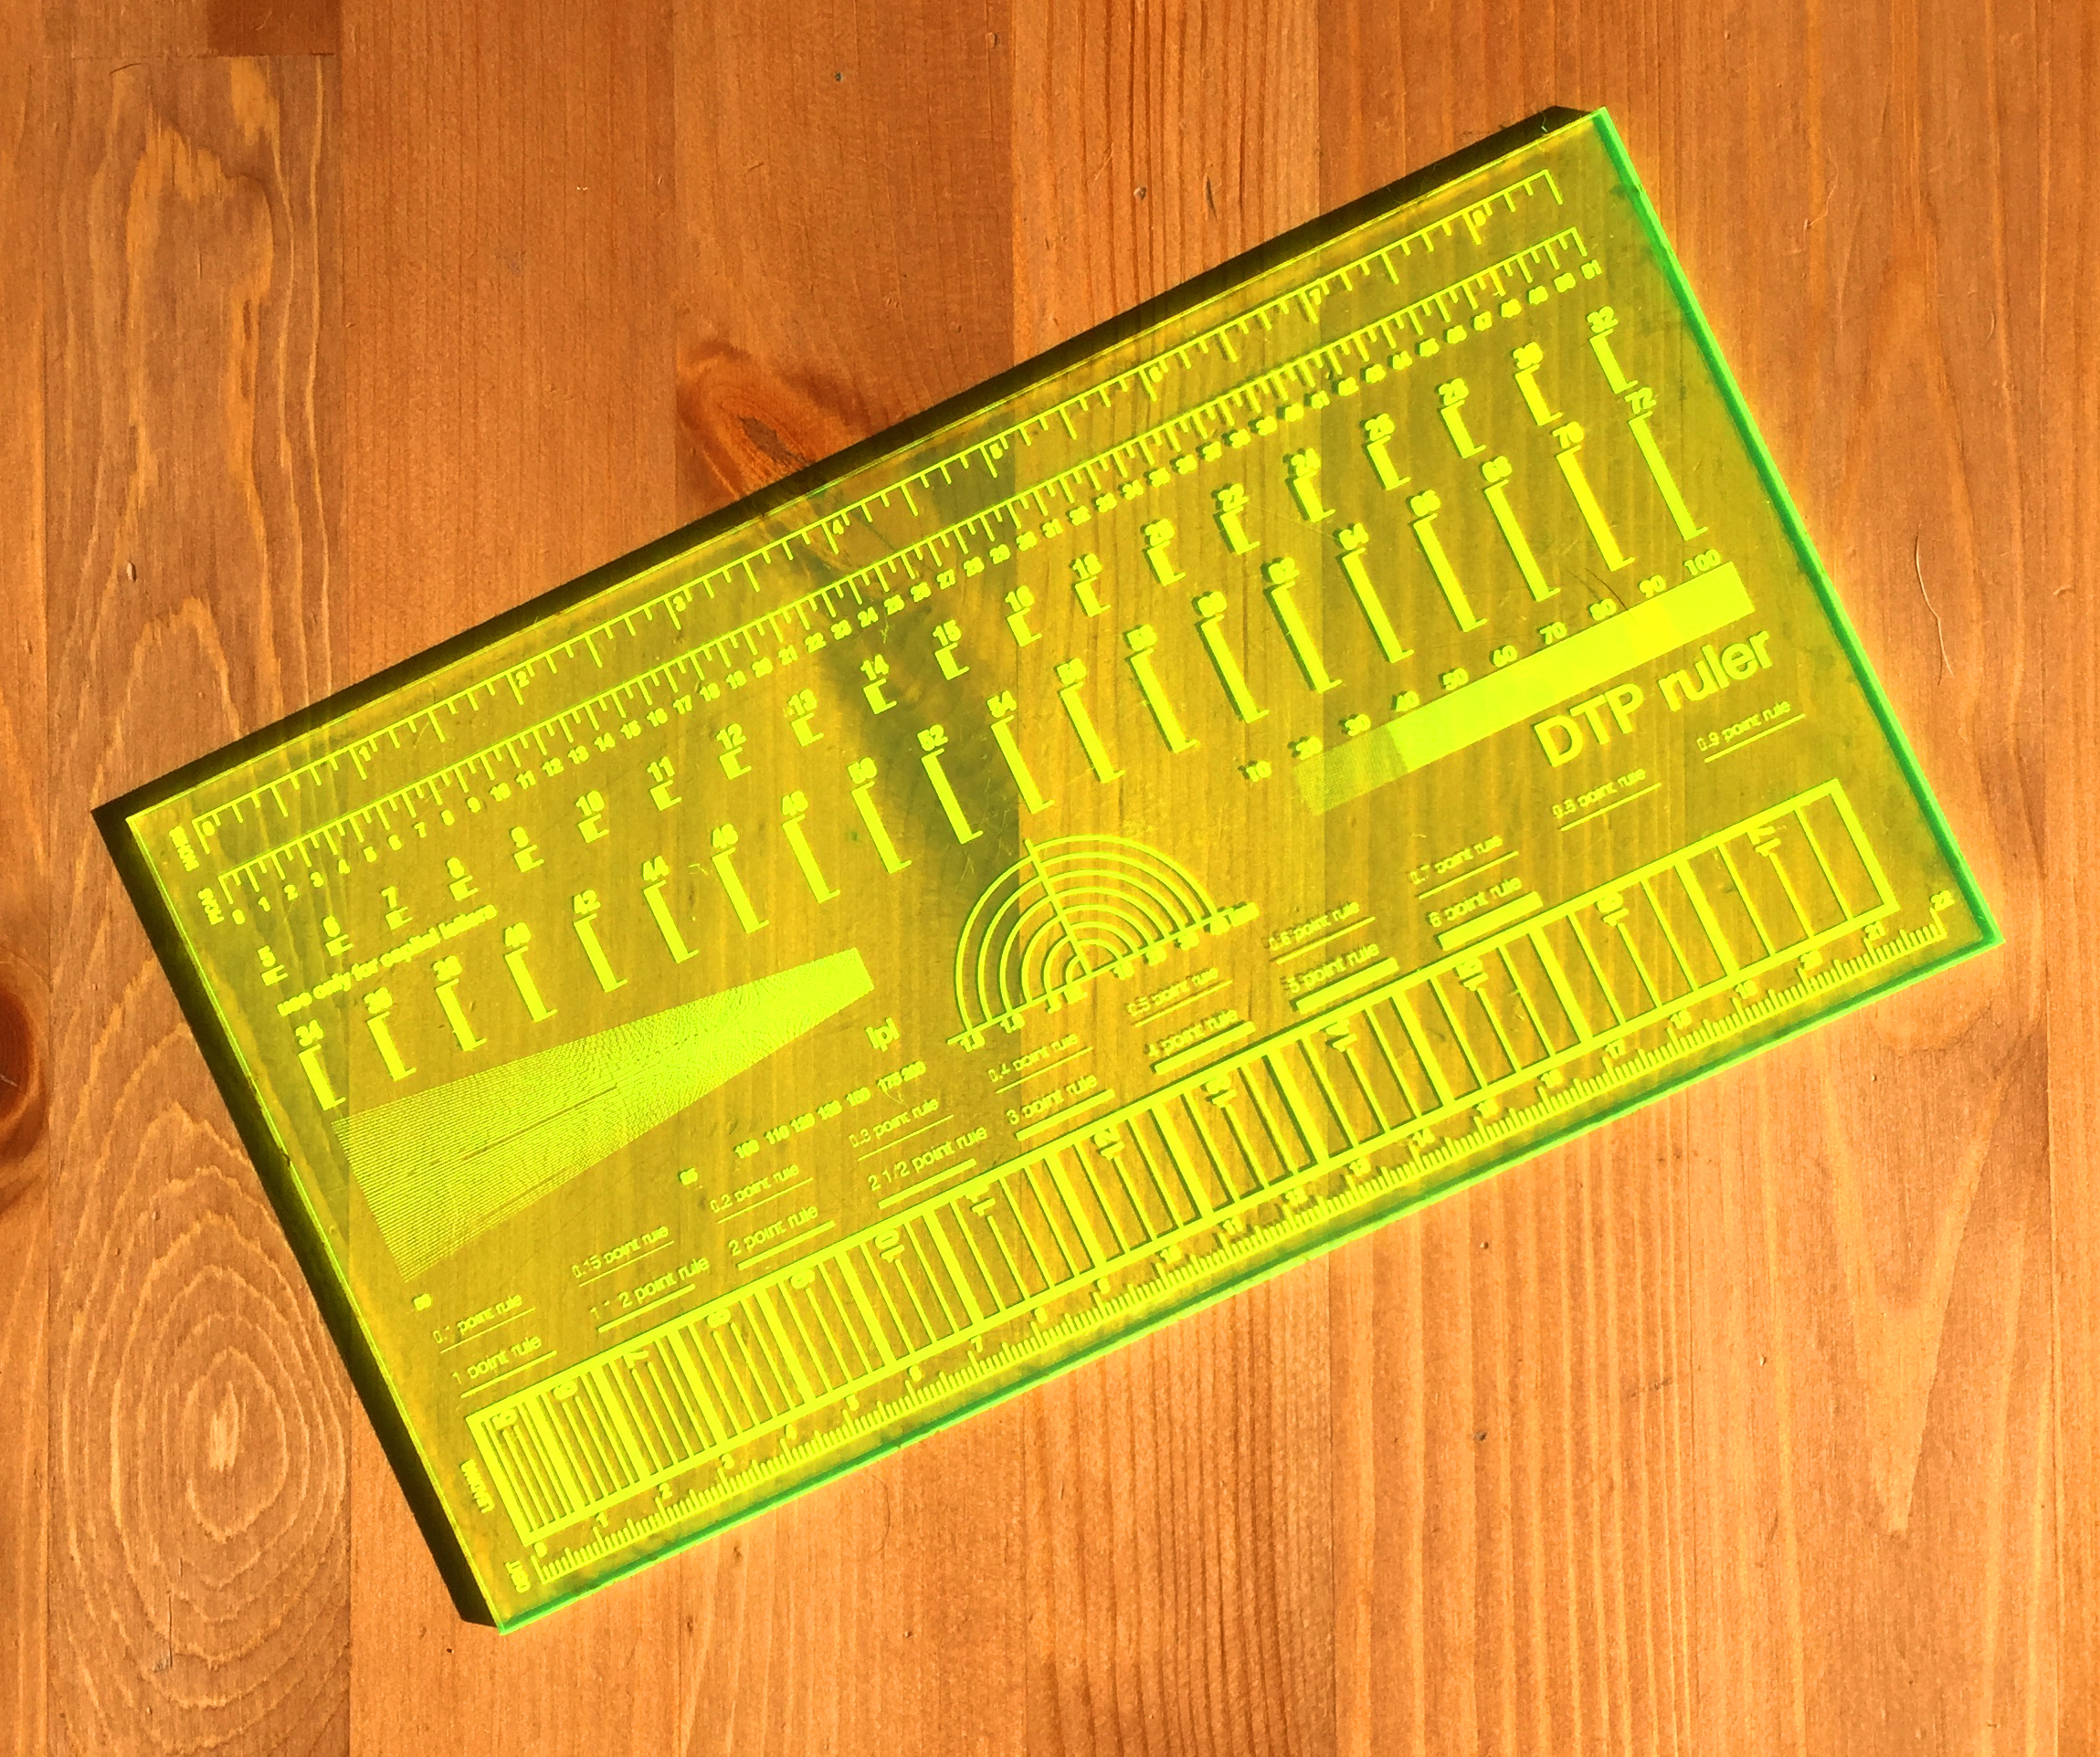
I templated out a design in Adobe Illustrator, featuring a main design element of an astrophotography lens, and added my identification information in set vintage NASA Futura. It took well over an hour to wait for the etching and cutting to be completed, but I was quite happy with the result.


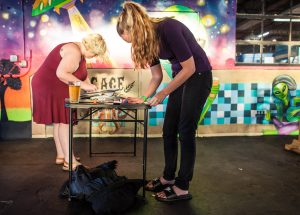
After etching, I needed to sew in an elastic band to keep it shut. I didn’t have a sewing kit on me at the time, so I walked into the Phoenix Sheraton and pretended to be a guest as I requested a travel sewing kit. Problem solved!

I made a few other things while using up my fab lab membership for the month, a ruler, some business cards, keychains… In the end, it was most satisfying to finally turn those damn acrylic sheets I had hanging around into actual things.


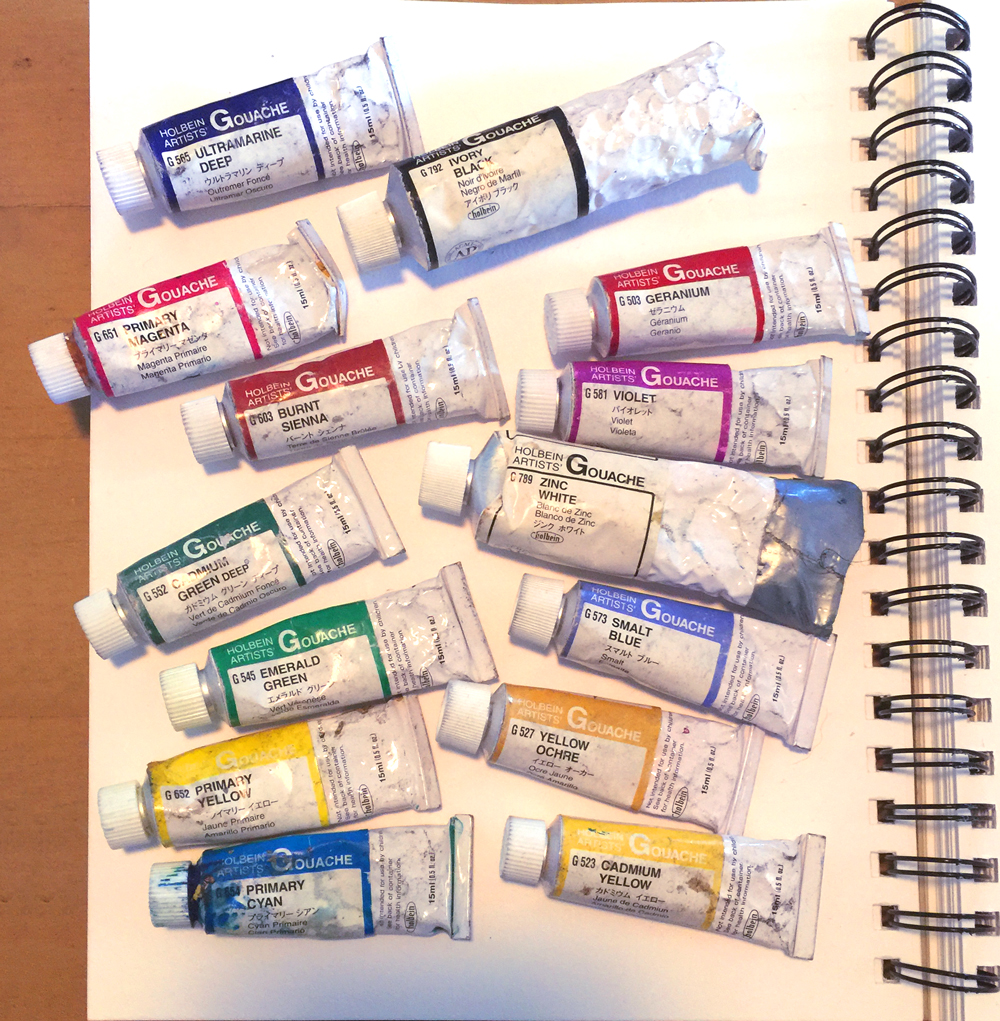
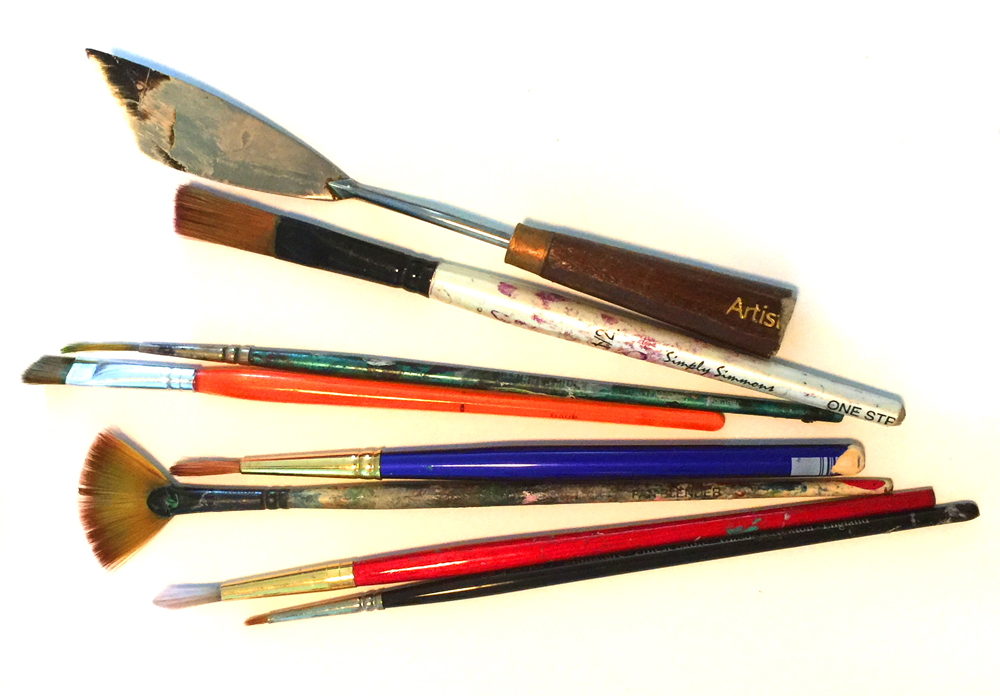
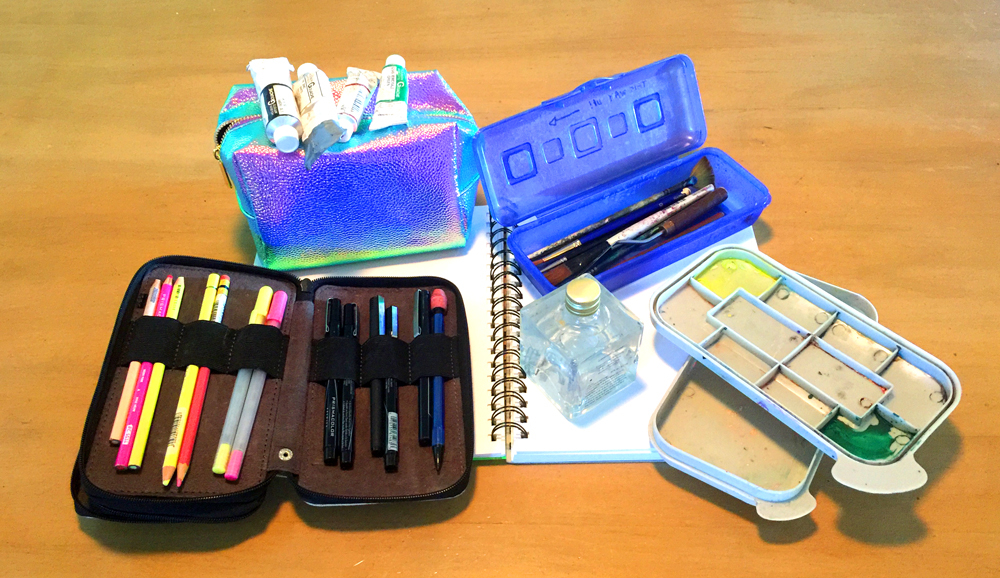
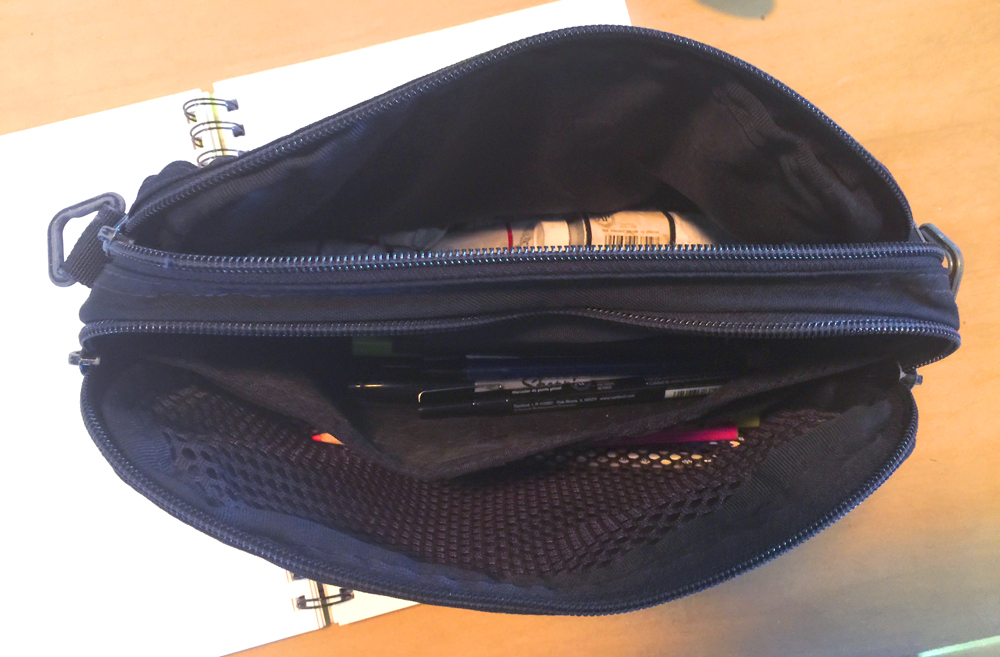
My next challenge was to reorganize my sketching supplies. For some reason I had them in a few different containers and it was simply too much. Quite inefficient, actually. I knew the time was right to condense these belongings when I found an Eagle Creek travel pouch at a thrift store for $5! This little bag had enough compartments that I could still keep my mediums organized, but it was small enough to toss in a purse for drink n’ draw night.

I went from this…

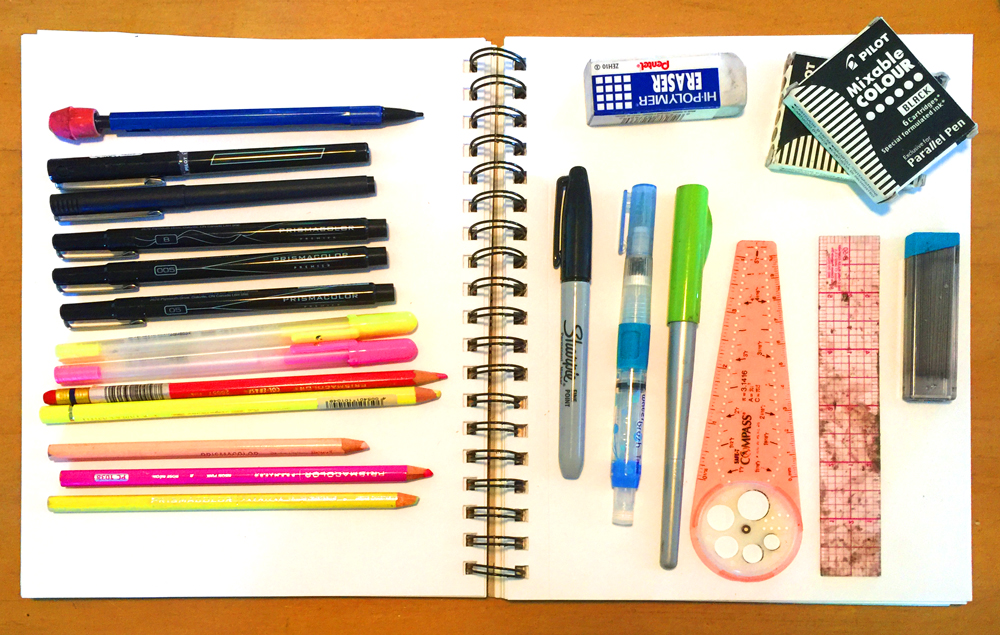
To this! (Not pictured, but my palette fits nicely in there as well)

Eagle Creek Travel Pouch

Looking forward to many more side projects in 2018!

I’m going to be living in the San Francisco Bay Area until AT LEAST the middle of the year. We’re doing the same thing as last year. It’s time to take a small break from traveling. I’m working on getting a freelance in-house position, or a full-time gig, should I be so lucky, and work as much as possible to pass the time and make some cash. I’ll keep you posted! Cheers.


Cinemagraphs for Peninsula School of Art

Here is a series of 4 cinemagraphs I produced as lenticular prints for Peninsula School of Art‘s exhibition “Painting with Pixels”


Interestingly, “Moon Traffic” is the first cinemagraph I ever produced. It’s from October, 2012! It was also the first print to sell at the show. 😅 I think I made it on an iPhone 4? Oh lord.

If you live anywhere near Fish Creek, WI, my beloved Andrew is giving a workshop on combining digital and traditional techniques in landscape painting. I wish I could join him but I’ll be taking care of a sweet dog named Riker in downtown Phoenix, AZ.

I made my own lenticular prints and it was really easy!

Adjusting the pitch of the lens to the printed image. I honestly did this for like 10 minutes before adhering it lol.
Adjusting the pitch of the lens to the printed image. I honestly did this for like 10 minutes before adhering it, lol.

Several months ago I was invited to participate in an exhibition at the Peninsula School of Art in Fish Creek, WI. The theme of the show was combining digital and traditional processes. (PSoA focuses heavily on traditional media, so this was quite new territory for them.) So I put together a proposal to provide some lenticular prints of my landscape cinemagraphs.

I originally planned on getting the prints made by my friends over at GifPop! who have made them for me in the past. But of course… the months went by and soon I realized that if I wanted the prints to get to Wisconsin in time, I would have to figure out how to make them myself. Oh shit! 😓

Even though I was sort of freaking out, I did a bit of research and realized it really wouldn’t be that hard, nor that expensive. So I dove in!

First, I purchased some 40LPI lenses from Amazon. These come with the adhesion film on the back. There are a few other sizes and lens density options for purchase. Also, it comes with a few extra samples and a squeegee for when you adhere it to a print.

Next, I had to install SuperFlip!, an OLD but effective application for interlacing images for lenticular lenses. It has to be run on Windows, so I used it on Parallels. It outputs a TIF image.

Here’s the thing, the geometry behind how lenticular lenses work is pretty basic. It should be an easy enough task for someone to make a Photoshop script for this process. I didn’t have time to fuck around so I just used what was at my immediate disposal.


Printing

The tutorials that VueThru provides are great, but your mileage may vary. I had to tinker with my printer for a while until I could get the resolution to be acceptable. I found 200DPI to be acceptable, especially if I was only working with <5 frames.

For instance if you have a 10-frame interlaced image, you’re going to need a professional grade printer to get 600+ DPI. I did get a successful 10-frame lenticular from my consumer grade printer, but it would have turned out a lot bolder and crisper if the resolution were better.

Adhering

Not much to say about this, just be steady. Your calibration has to be perfect, and you need to make sure you don’t wind up with any air bubbles. I accidentally got a huge air bubble in one of mine, but with enough squeegeeing and popping it with an exacto blade, it did go away. It’s a lot like applying a vinyl decal. I think it would be helpful to have access to a cold laminator to quickly get rid of any adhesion imperfections.

Trimming

I used an exacto blade to trim down the 8” x 10” lenses down to about 7.75” x 7.75” squares. I had to score it several times before the excess broke off, but when it did come off, it was a very crisp cut. I sanded the corners for a very small border radius.

I didn’t take any process shots of the cinemagraphs, I was in a hurry the whole time! But I made a few more prints with the extra lenses I had when I was done with the others.


I can’t wait to do another set of DIY lenticular prints. I used to think of this process as luxurious, expensive, and highly specialized. This is a rare example of how procrastinating turned out to be a positive experience. 😝

Institute for Psychogeographic Adventure — Experiment 42.000 at The Ringling Museum

The weekend of March 18th-19th, in a cupboard under the stairs of the Ringling Museum Education Building, I read a total of 45 astrology readings, using software that I developed to generate natal charts.

You can use the software yourself and generate your chart!

Astrology Clock Ringling

I also have an “astro clock” if you’re interested in the current conditions.


Tampa Bay AIGA’s Cut + Paste Event!

I had a great time in my old college town, St. Pete, last Friday! Lots of old and new faces. Cage Brewery is pretty cool.

I reeeeally enjoyed the collage competition, but it was also great catching up with folks and gossiping a bit. 🙂 I got Runner-Up, so now I have $20 to spend at AOE Supply next time I’m in Tampa.

I’m excited to get some new supplies because my SUPER COOL CUSTOM SKETCHBOOK PROJECT is nearly done, and I’m excited to post about that process! I’m deliberately refraining from sketching at all until my cover is done, which is rather stubborn of me. ;[

My friend, Savannah, did a write-up about the event!


Sarasota Photoset Details [ Vol. 1 ]

This is an color-edited photoset of a few locations in downtown Sarasota, FL. This is the first of numerous photosets I’ve collected from my shots that have similar light and hue. Be on the look out for more!

Sarasota Photoset

This photoset is now available in my shop! It’s printed on 65lb. holographic, glossy paper. It fits in a standard 7”x7” frame, similar to this one. I think these shots would look great individually framed, which can be arranged with a special order.

Locations in Sarasota

  • top-left — The sky viewed from the Ringling Causeway. Taken August 2015.
  • top-right — A foggy night at Lido Beach. Taken March 2016.
  • bottom-left — Succulents near my old apartment on Ringling Blvd. Taken February 2016.
  • bottom-right — Interesting light from an alley off Orange Ave. Taken January 2015.

Here is a Google Map of where I took these photos.