My custom laser-etched sketchbook cover! (& other things!)

HERE’S MY SKETCHBOOK!!!

Since It’s New Year’s Eve, I have been dwelling on what an amazing year it’s been. I’m happy that I accomplished so many goals, and even though I’ve been doing the whole minimalist-digital-nomad thing, I still was able to *MAKE* some stuff on the road. I’ve been wanting to share this project for a while, so I’ve finally put this post together!

Since graduating from college, I had fallen out of the habit of sketching, and I felt my work suffering due to that. During times incredibly lacking in inspiration, I’d peruse my archives and try to refine old ideas. But that was only so successful. I set out to welcome the ritual back into my hectic life.

I knew I needed a sketchbook and select art supplies while I would be traveling in 2017, but I had to make sure it was personalized, travel-ready, convenient, and adaptable.


Let’s make a cover!

While in Phoenix, AZ this summer, I happened to be walking by the Arizona Science Center, and I saw that they had a Fab Lab! The next week, I was at the intro workshop with my sheets of neon acrylic, ready to make a bunch of cool stuff!

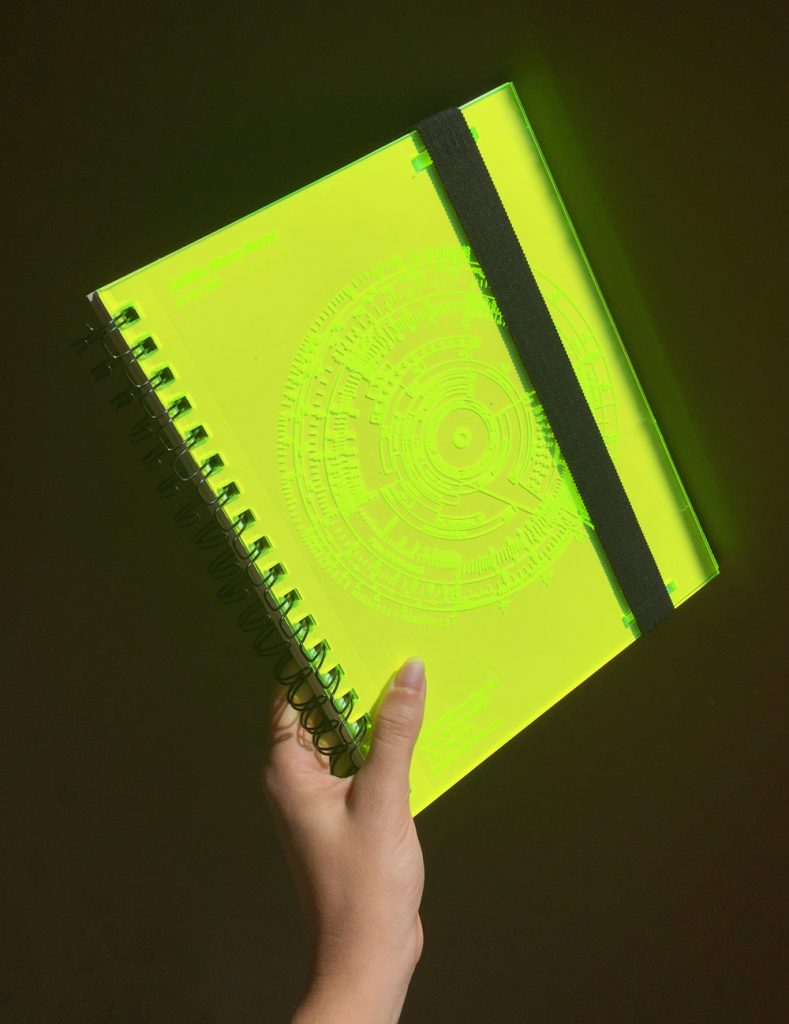
I wanted to be able to re-use my cover if I were to get a new sketchbook, so I chose to use the specs of a 7” x 10” Canson Mixed Media Sketchbook. This sketchbook is incredibly common. You can find it at any art supply store, and even at most Wal-Marts. When I run out of pages, I won’t have to go very far out of my way to replace them.

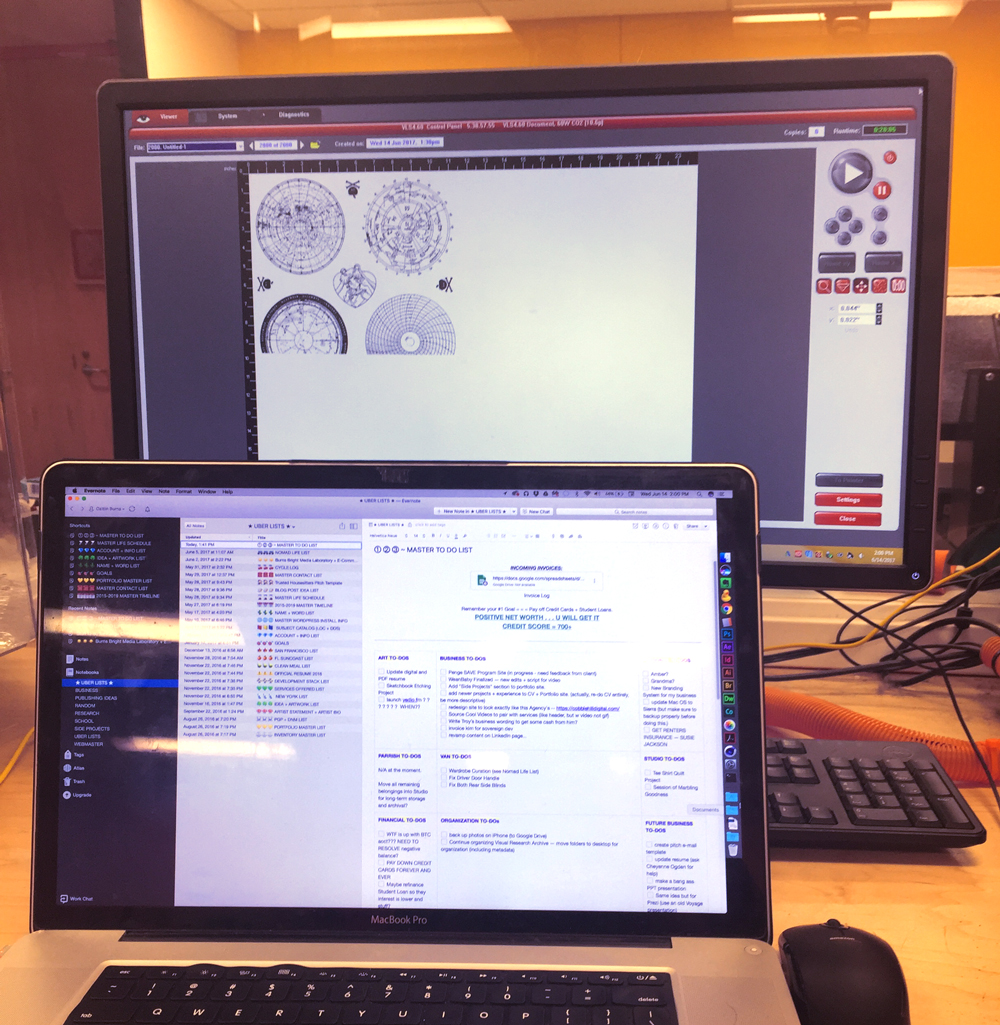
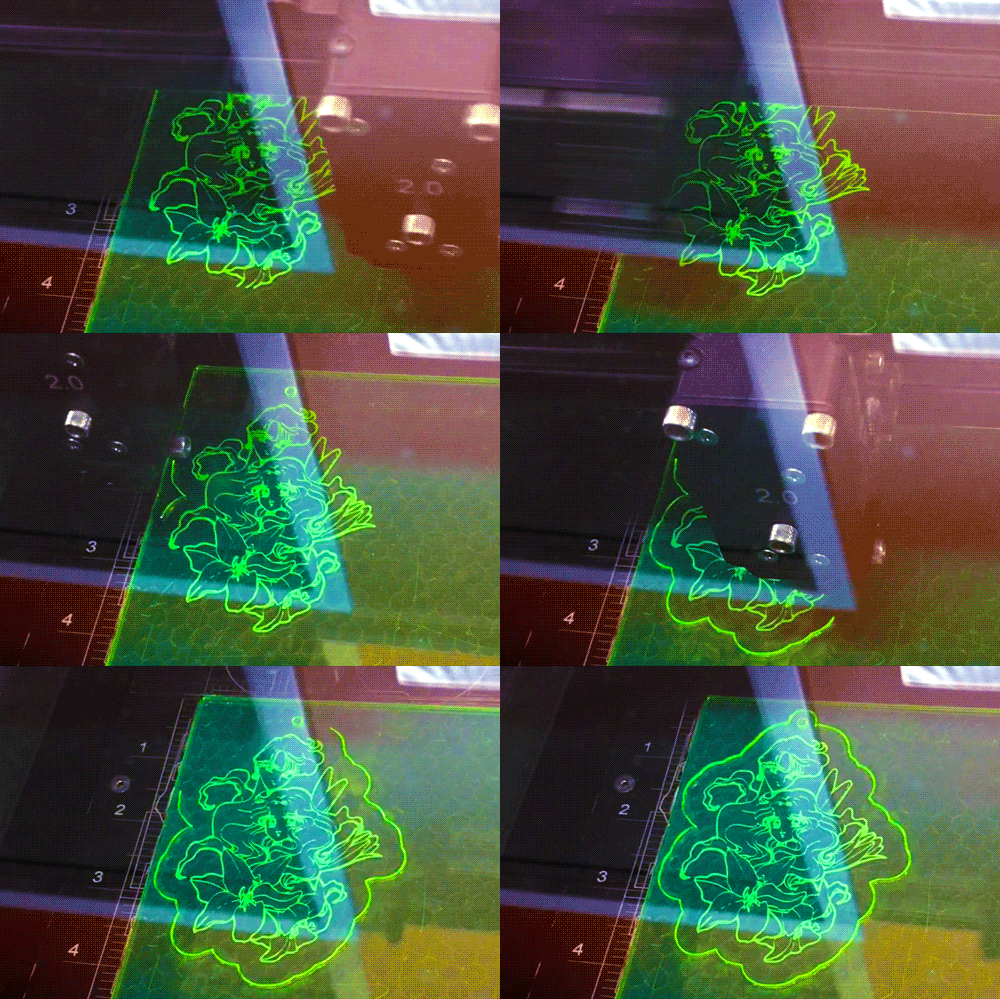
I templated out a design in Adobe Illustrator, featuring a main design element of an astrophotography lens, and added my identification information in set vintage NASA Futura. It took well over an hour to wait for the etching and cutting to be completed, but I was quite happy with the result.


After etching, I needed to sew in an elastic band to keep it shut. I didn’t have a sewing kit on me at the time, so I walked into the Phoenix Sheraton and pretended to be a guest as I requested a travel sewing kit. Problem solved!

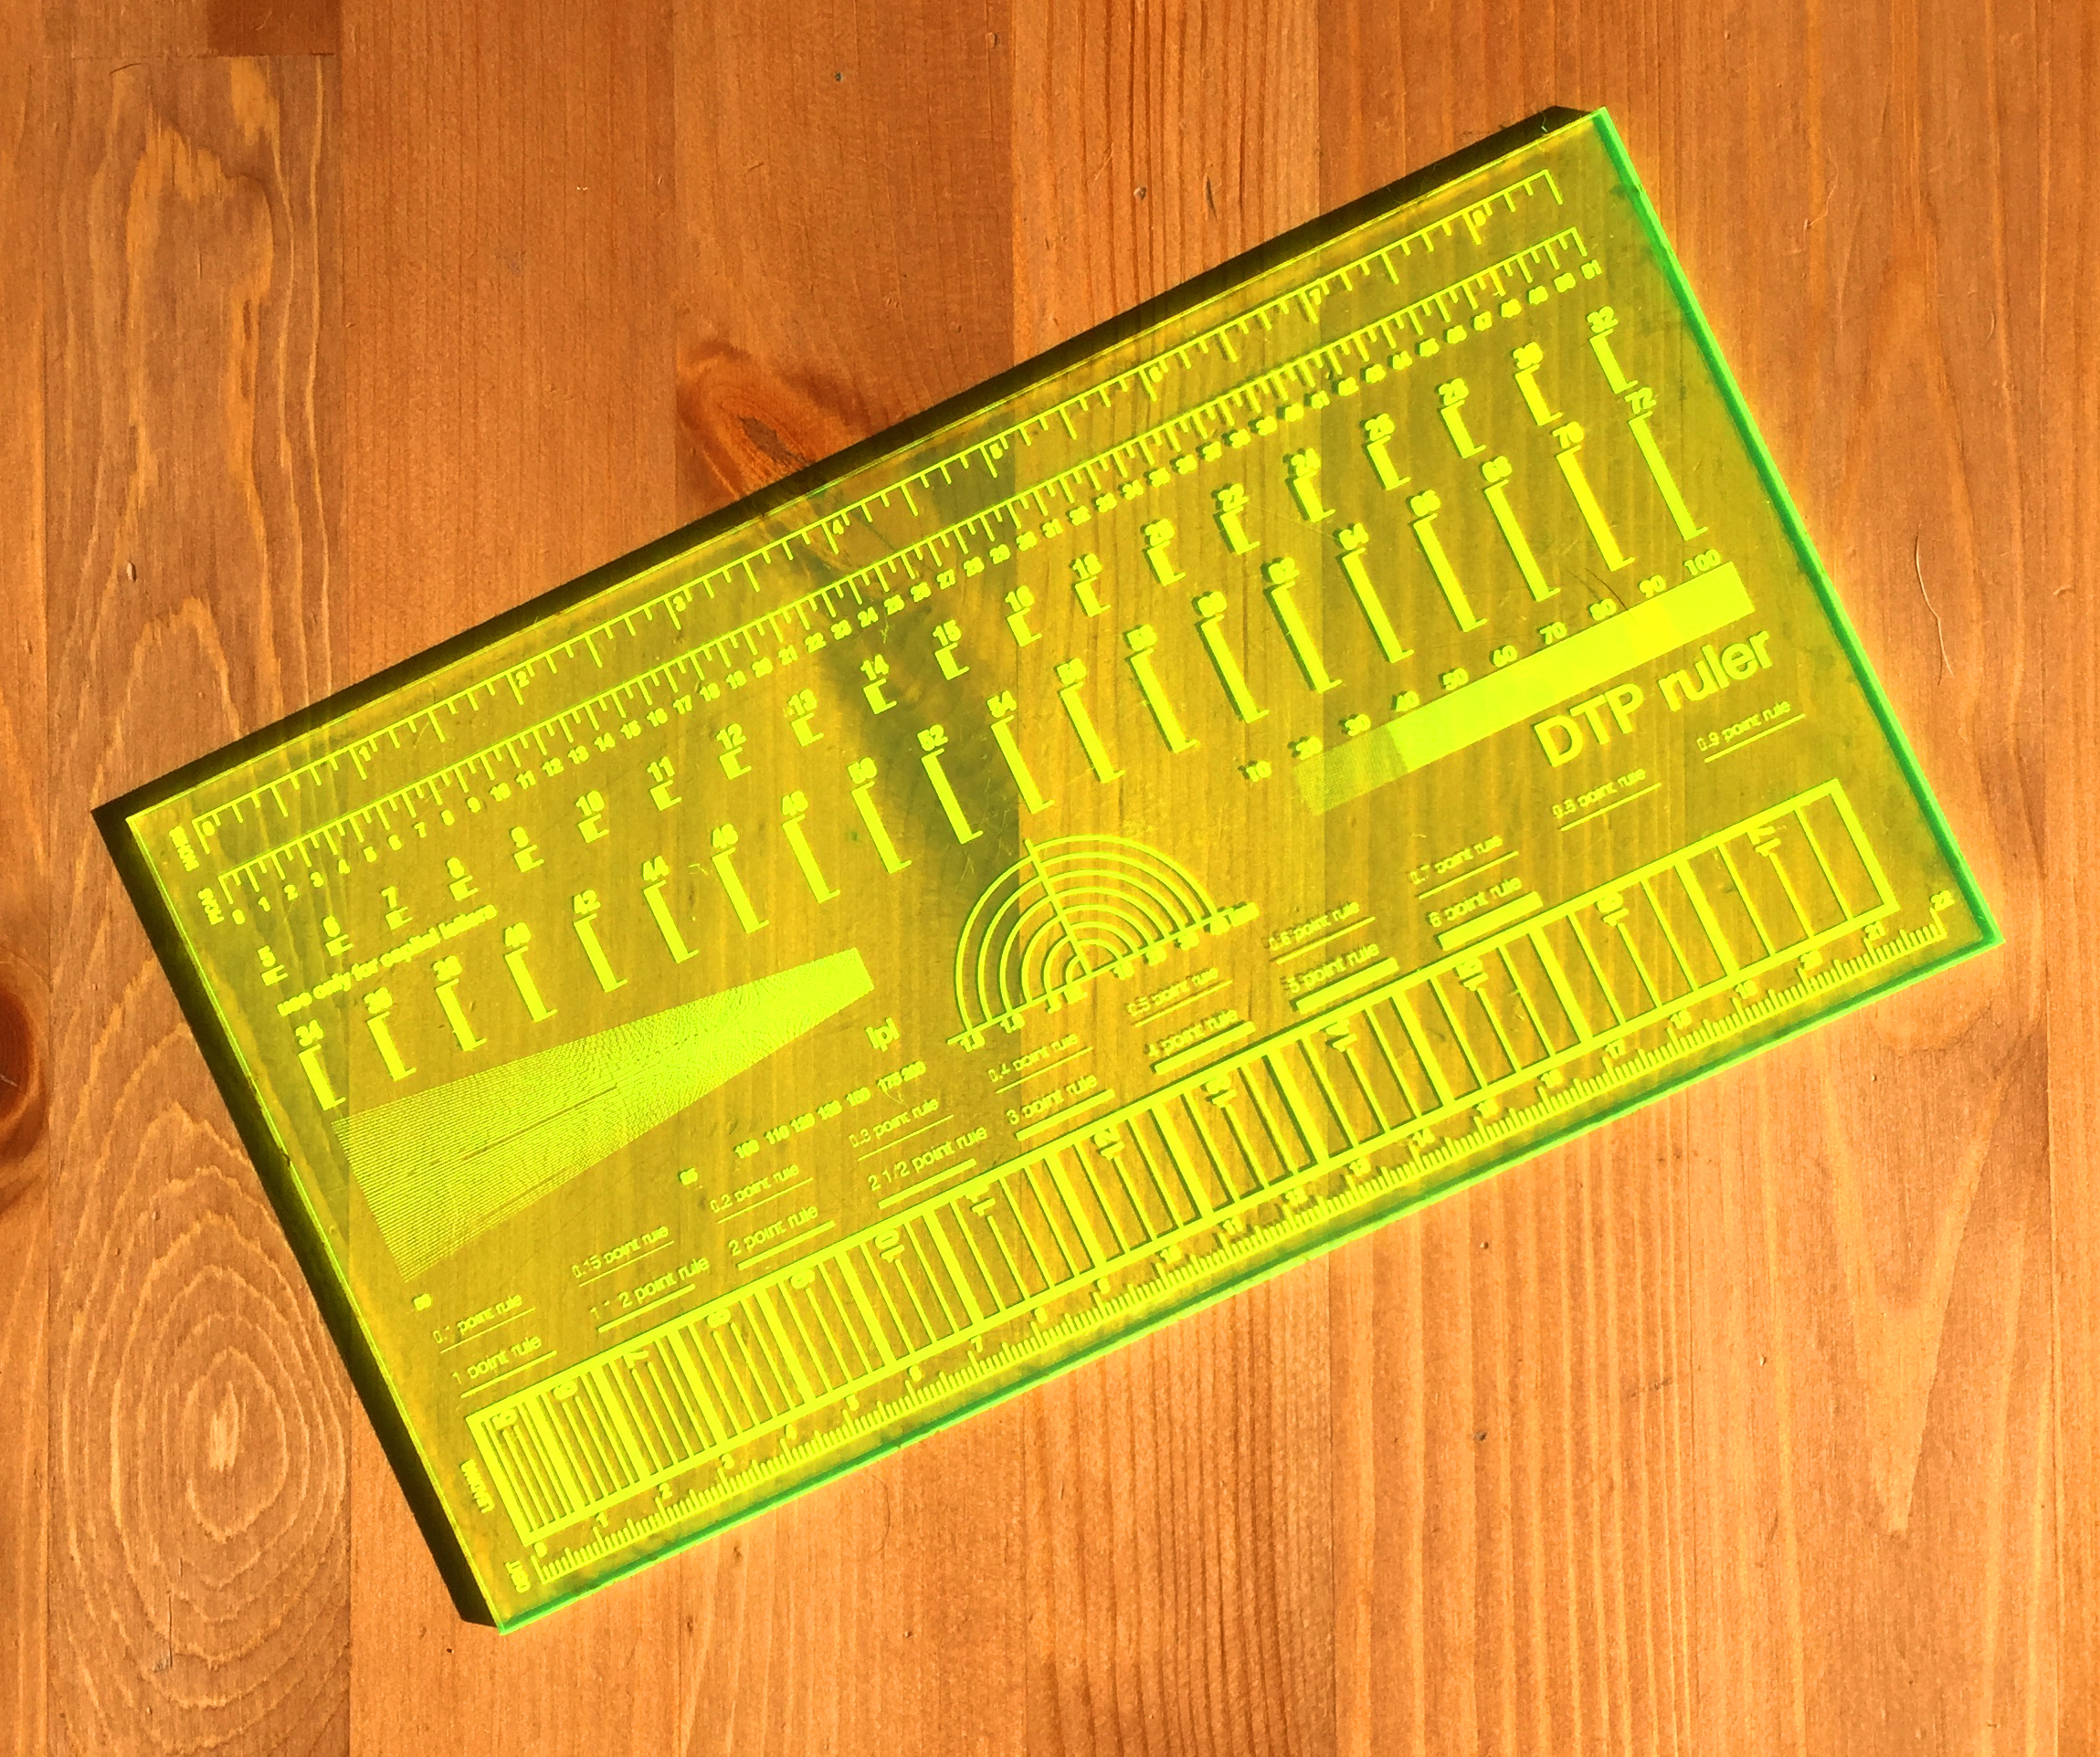
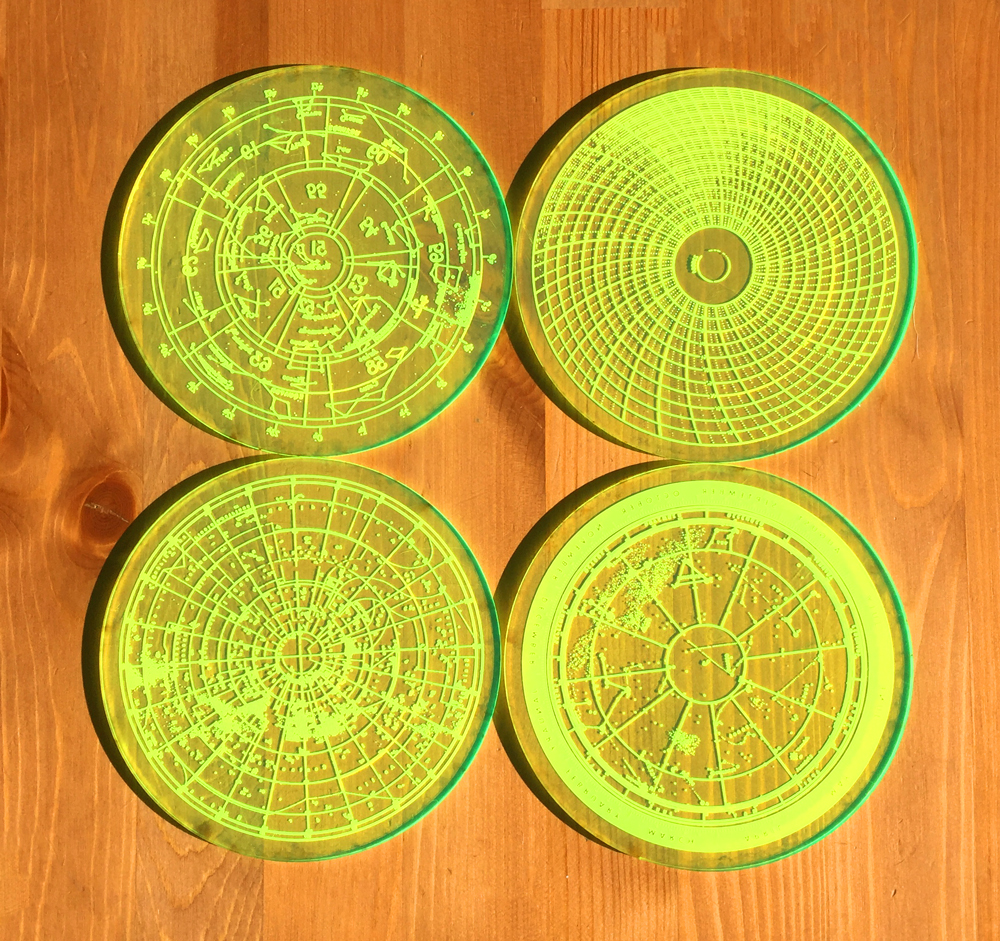
I made a few other things while using up my fab lab membership for the month, a ruler, some business cards, keychains… In the end, it was most satisfying to finally turn those damn acrylic sheets I had hanging around into actual things.


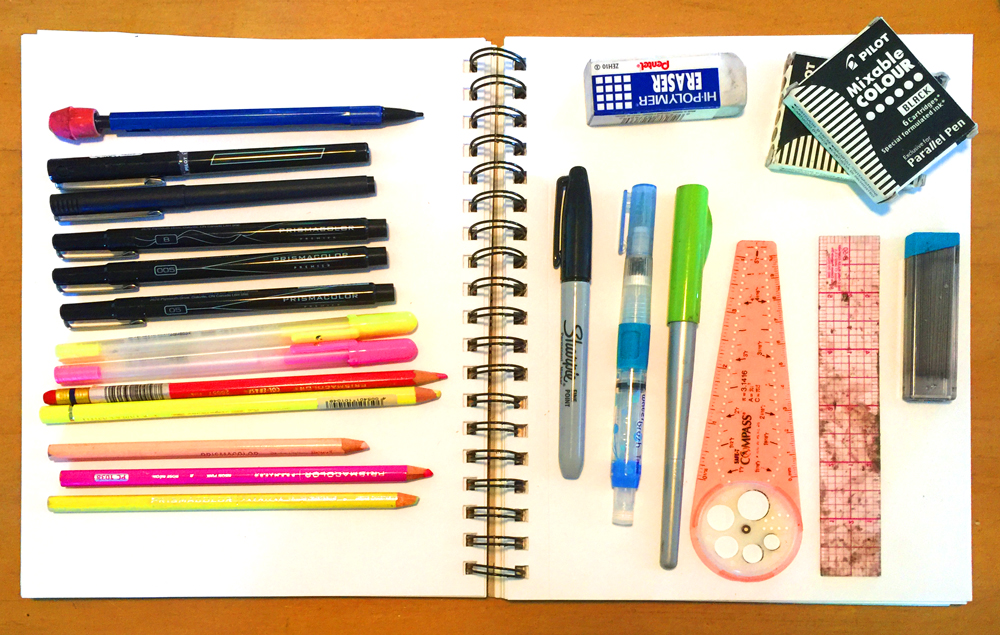
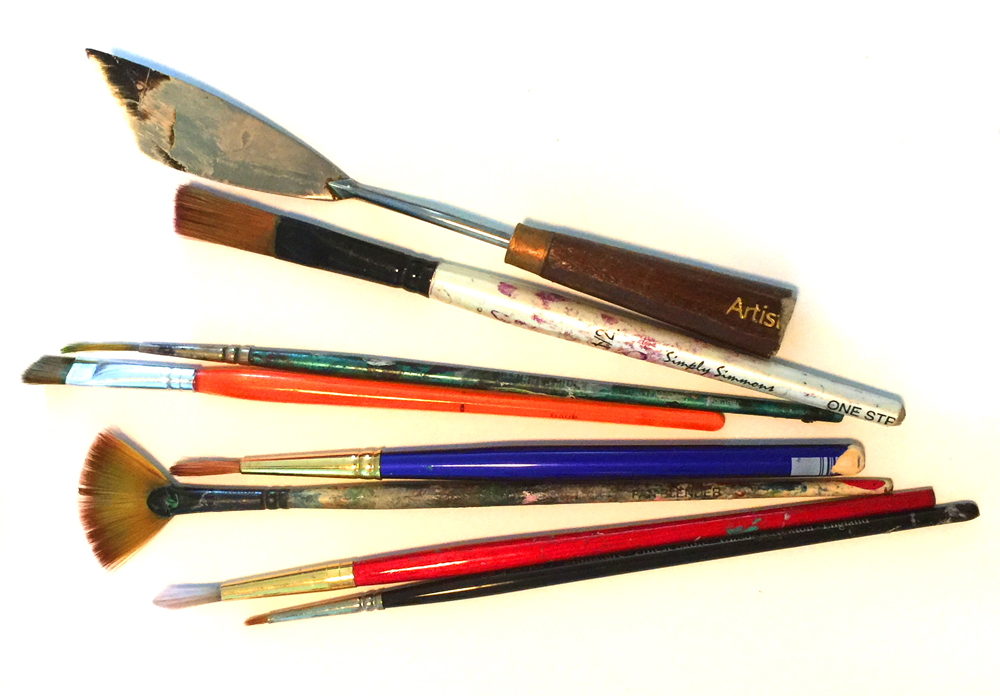
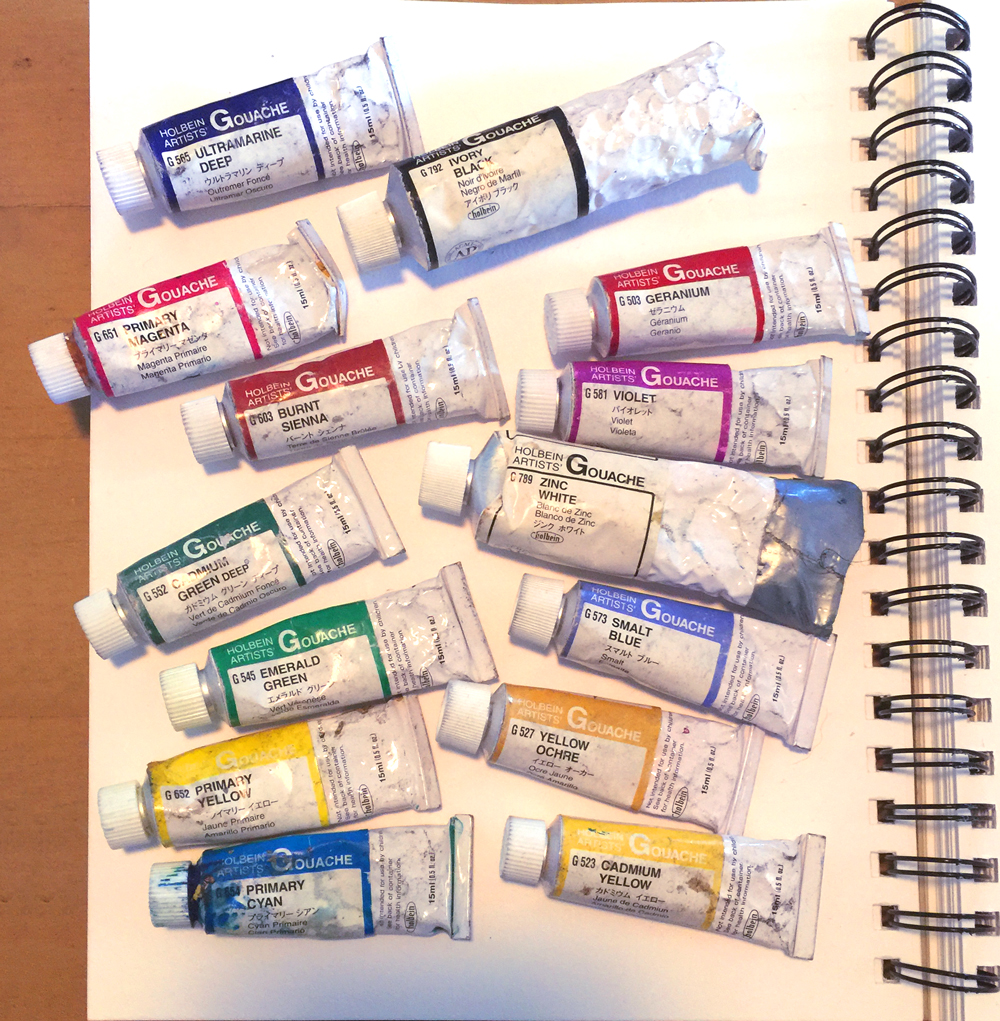
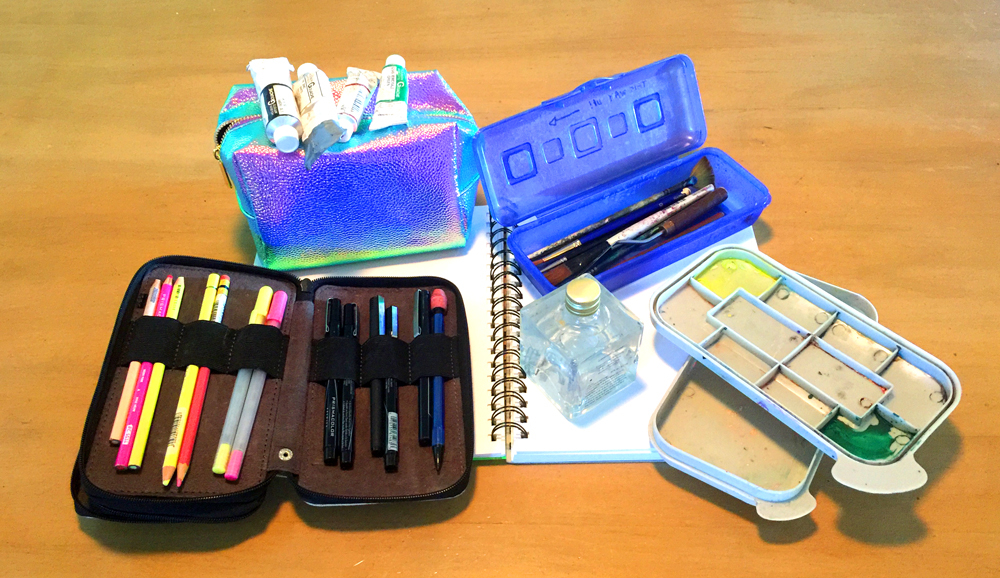
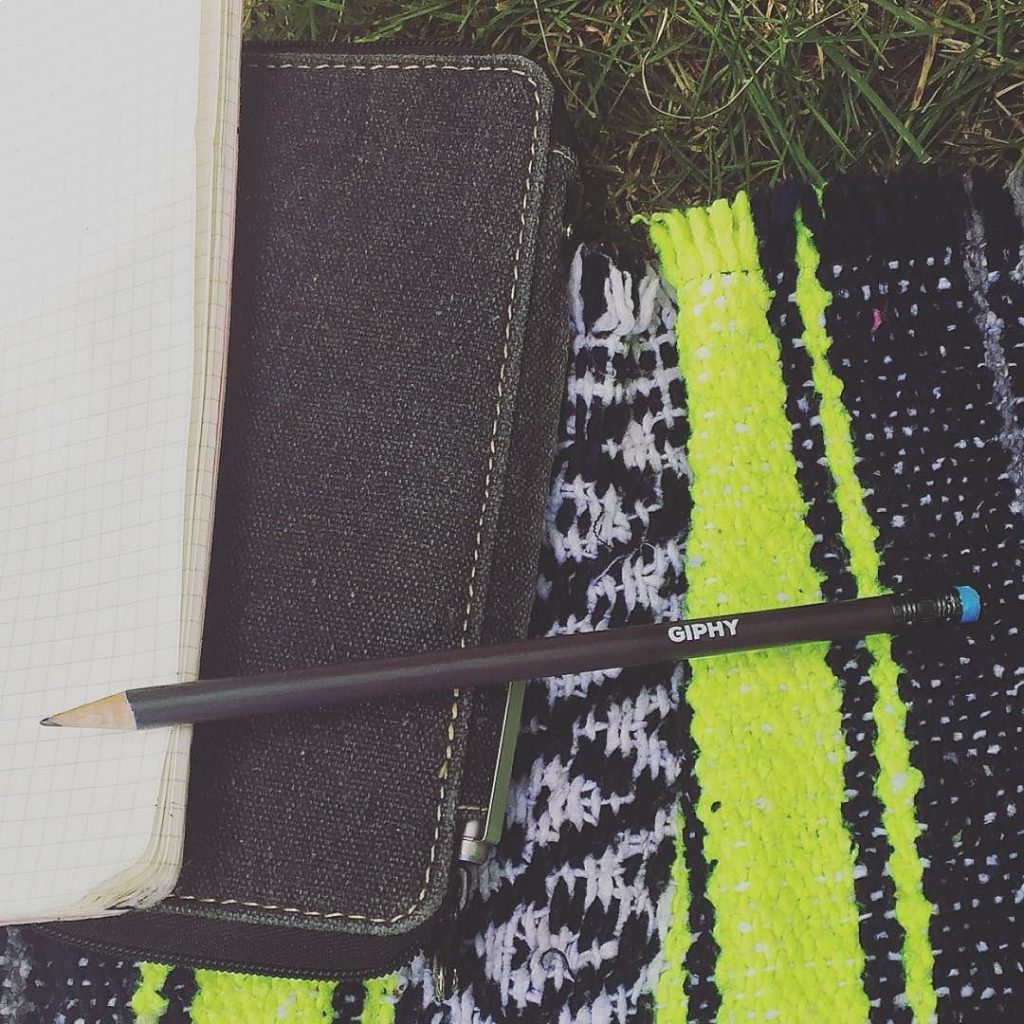
My next challenge was to reorganize my sketching supplies. For some reason I had them in a few different containers and it was simply too much. Quite inefficient, actually. I knew the time was right to condense these belongings when I found an Eagle Creek travel pouch at a thrift store for $5! This little bag had enough compartments that I could still keep my mediums organized, but it was small enough to toss in a purse for drink n’ draw night.

I went from this…

To this! (Not pictured, but my palette fits nicely in there as well)
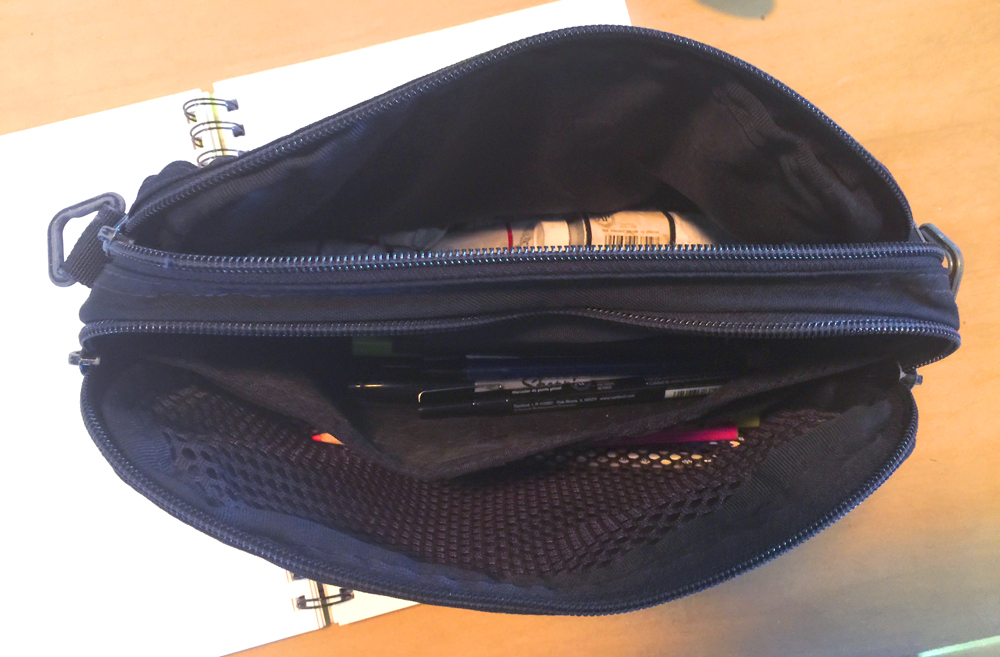
Eagle Creek Travel Pouch

Looking forward to many more side projects in 2018!

I’m going to be living in the San Francisco Bay Area until AT LEAST the middle of the year. We’re doing the same thing as last year. It’s time to take a small break from traveling. I’m working on getting a freelance in-house position, or a full-time gig, should I be so lucky, and work as much as possible to pass the time and make some cash. I’ll keep you posted! Cheers.
 

Solid Conditioner DIY! I’m never switching back to liquid.

I’m more than a little obsessed with my solid conditioner + shampoo. But let me tell you a bit more about why I went through the effort…

I haven’t really posted a lot about the fact that I live nomadically at the moment. Me and Andrew left from Sarasota, FL in April and we’re almost to San Diego, CA! Knowing that I’d be showering at camp sites and YMCAs between destinations, I wanted to keep my toiletries a bit more compact than I did on previous road trips.

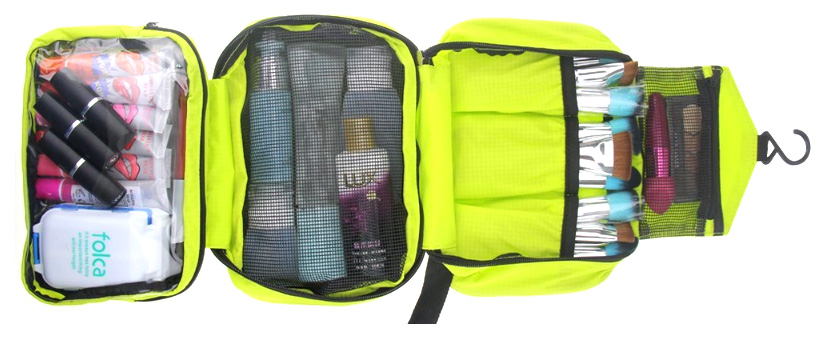
This time around, I challenged myself to fit everything I needed into THIS hanger.*

Hanging Toiletry Bag
Not my stuff pictured. Who brings like 20 make-up brushes on the road?

(*This does not include cosmetics or manicure items, which I do use for special occasions. Those are in another, similarly sized pouch. This is just showering and daily hygiene things. I’m not quite ultralight yet, but I’ll get there.)

My biggest concern, by far, was hair care. I have… a lot… of hair. It’s really long, and really thick. It requires specific care. See a picture of the craziness here.

After a bit of research, I decided one of the first steps in downsizing would be to switch to solid shampoo and conditioner. Solid shampoo is easy enough to find at Lush, or online. For a while I even took to using a common Dr. Bronner’s castille soap bar for shampoo. I switch it up. I am not loyal to any brand of solid shampoo so far, and I will probably try to make some myself when I get a chance.

While solid shampoo is fairly common, the reviews for Lush’s solid conditioners aren’t so good. I never even bothered trying them. Plus, the ones on amazon are quite pricey. I looked around and eventually found this really great guide on how to make your own solid conditioner. It seemed easy, so I went for it. The linked guide is straightforward, but I have some additional tips for this recipe!

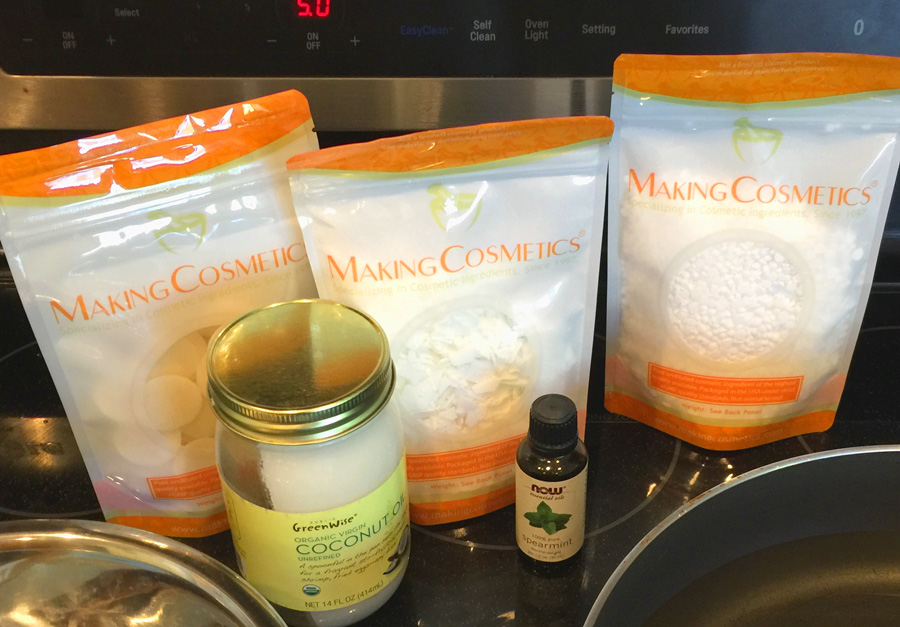
Solid Conditioner Ingredients
As you can see, I left the coconut oil laying on its side in a hot car.

If you follow the recipe on Her Packing List, the ratios are pretty precise. If you followed them exactly for this size of a batch you’d wind up with a bunch of leftover ingredients. Well guess what, I just dumped all this shit together and it turned out perfectly. Also, I want to smell pretty, so to hell with the recommended 20 drops of essential oil, I included a full 1.5 ounces of peppermint essential oil. These ingredients cost a good $30, so I felt like I should get my money’s worth!

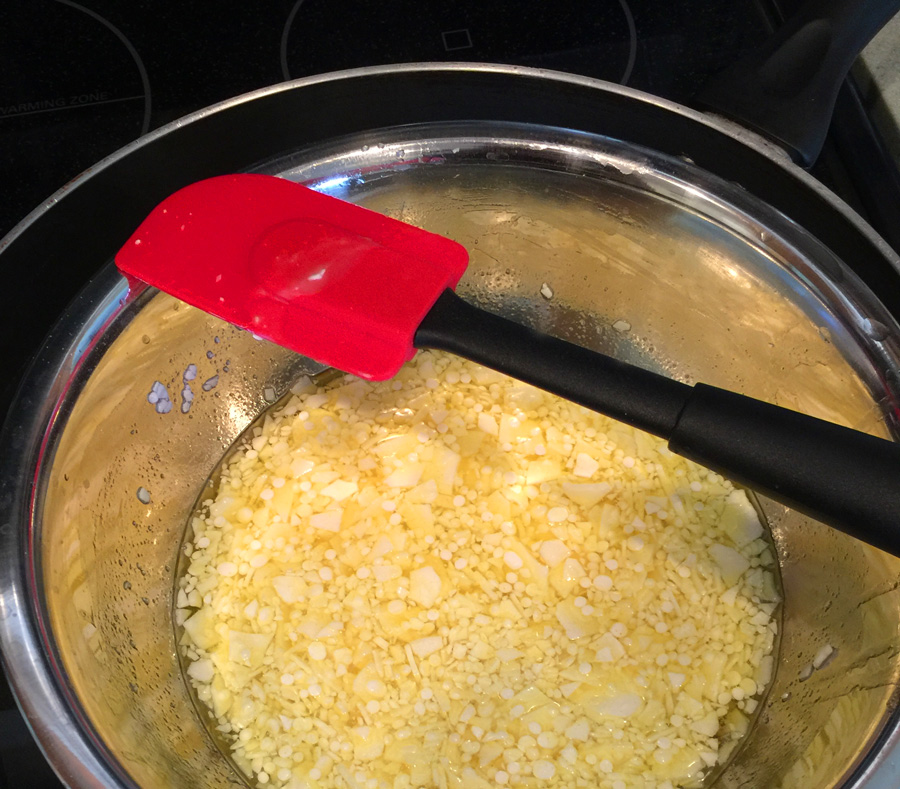
Melting together the Solid Conditioner ingredients!
This is like a 50% melted state. Almost there.

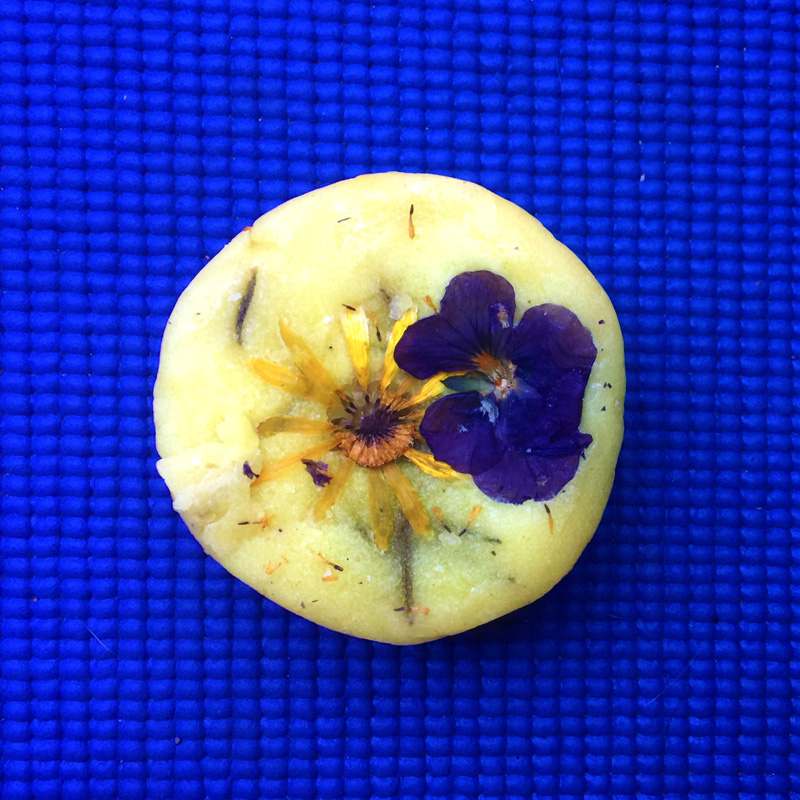
As soon as the ingredients had melted into a homogenous liquid, I carefully poured the mixture into a 6-count muffin tin, and let cool. As it was cooling, I added some rosemary and flowers from my mother’s garden to make them pretty and filled with good spirits.

My Solid Conditioner!The best part about these solid conditioner bars is that they last a LONG time. I made this batch on March 17th and have used up only 2 (as of June 13th) of them. They leave my hair detangled and nourished, and they take up approximately 3 square inches. I simply love them. I’m eager to make my next batch and experiment with different scents, but that probably won’t be necessary until the end of the year!
This whole process started out as a “travel hack” but, honestly, I can’t see myself using shitty consumer-grade conditioner ever again. Once you understand what the active ingredients in most conditioners do for your hair, you’ll realize you’re paying for 95% water. There are so many additional benefits: Less plastic waste? Customizable scents? Completely organic?!? AND the fact that it takes up hardly any space in your bag? I’m so glad I did this.

Cinemagraphs for Peninsula School of Art

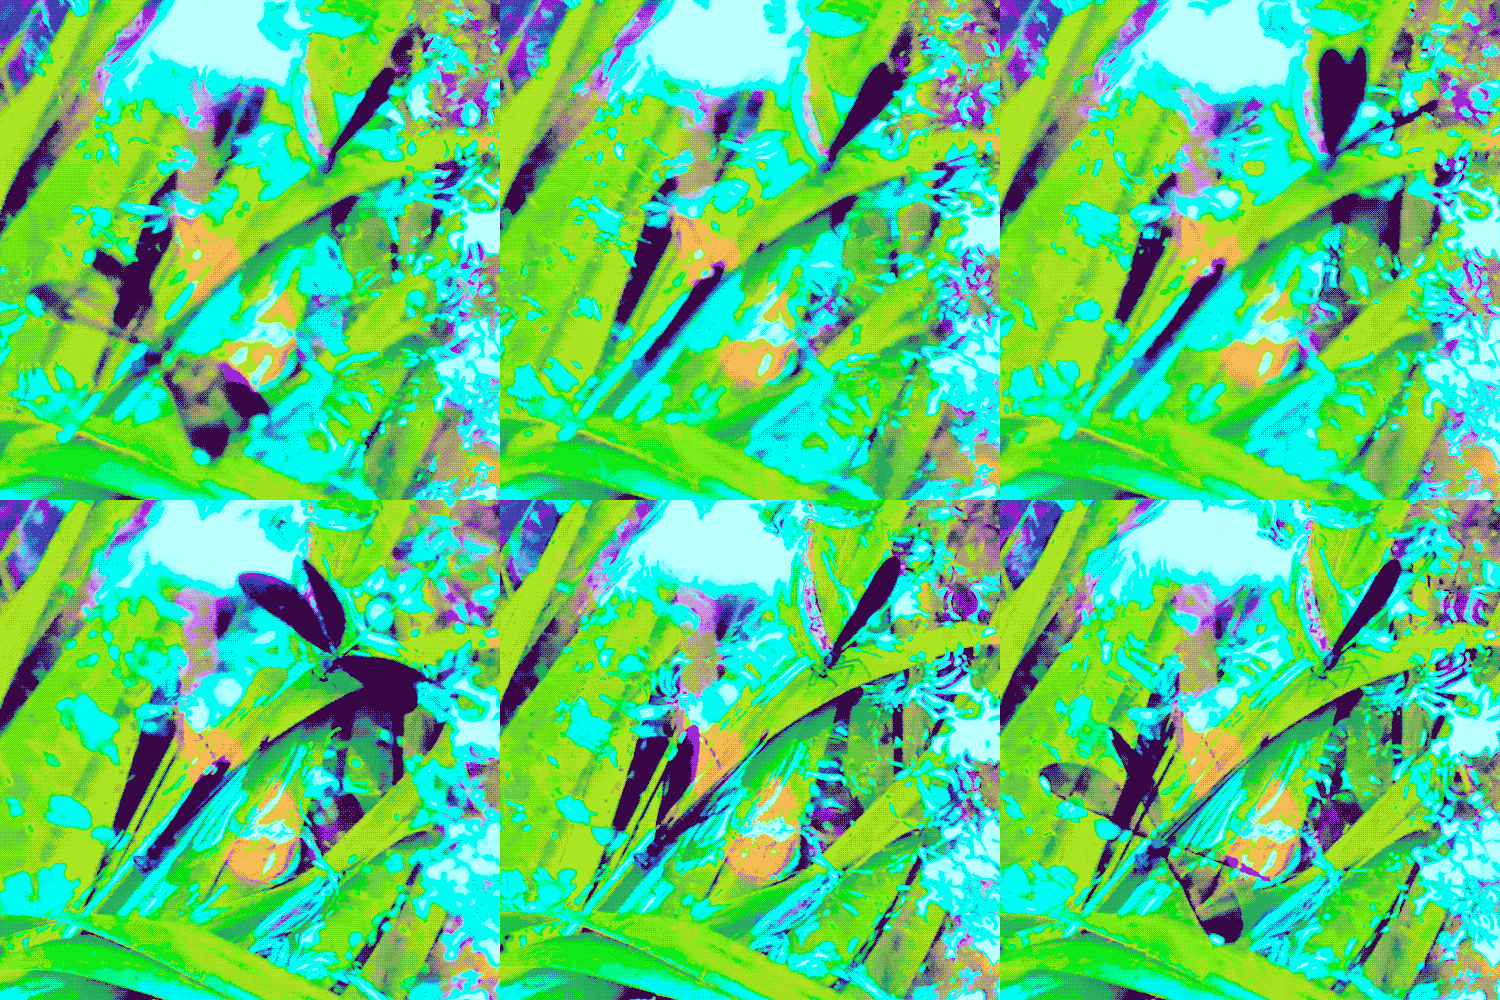
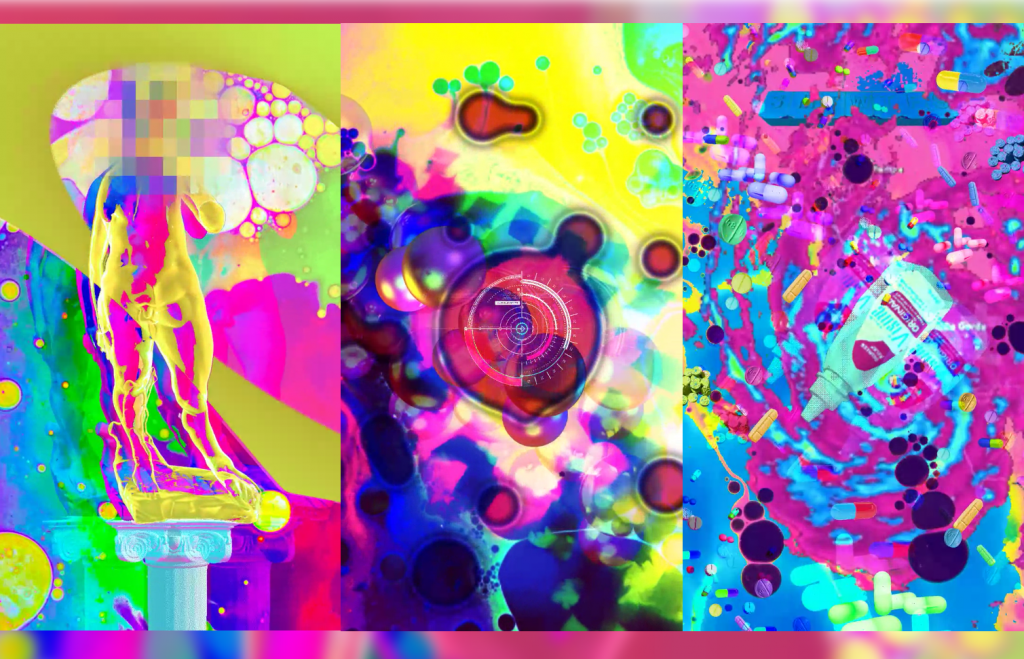
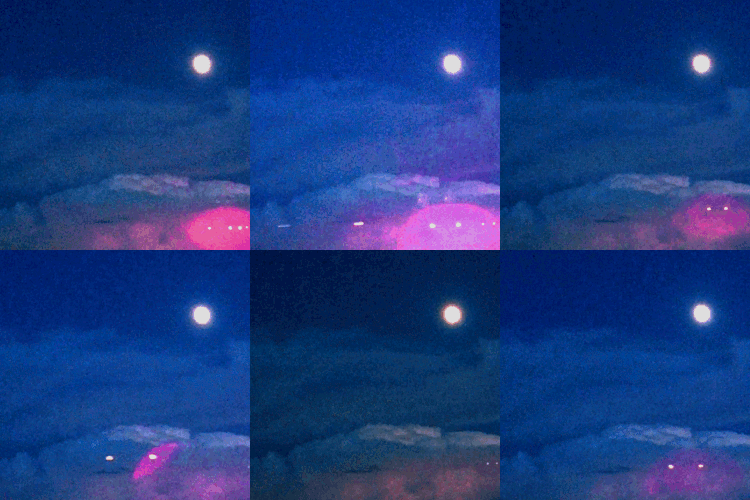
Here is a series of 4 cinemagraphs I produced as lenticular prints for Peninsula School of Art‘s exhibition “Painting with Pixels”


Interestingly, “Moon Traffic” is the first cinemagraph I ever produced. It’s from October, 2012! It was also the first print to sell at the show. 😅 I think I made it on an iPhone 4? Oh lord.

If you live anywhere near Fish Creek, WI, my beloved Andrew is giving a workshop on combining digital and traditional techniques in landscape painting. I wish I could join him but I’ll be taking care of a sweet dog named Riker in downtown Phoenix, AZ.

I made my own lenticular prints and it was really easy!

Adjusting the pitch of the lens to the printed image. I honestly did this for like 10 minutes before adhering it lol.
Adjusting the pitch of the lens to the printed image. I honestly did this for like 10 minutes before adhering it, lol.

Several months ago I was invited to participate in an exhibition at the Peninsula School of Art in Fish Creek, WI. The theme of the show was combining digital and traditional processes. (PSoA focuses heavily on traditional media, so this was quite new territory for them.) So I put together a proposal to provide some lenticular prints of my landscape cinemagraphs.

I originally planned on getting the prints made by my friends over at GifPop! who have made them for me in the past. But of course… the months went by and soon I realized that if I wanted the prints to get to Wisconsin in time, I would have to figure out how to make them myself. Oh shit! 😓

Even though I was sort of freaking out, I did a bit of research and realized it really wouldn’t be that hard, nor that expensive. So I dove in!

First, I purchased some 40LPI lenses from Amazon. These come with the adhesion film on the back. There are a few other sizes and lens density options for purchase. Also, it comes with a few extra samples and a squeegee for when you adhere it to a print.

Next, I had to install SuperFlip!, an OLD but effective application for interlacing images for lenticular lenses. It has to be run on Windows, so I used it on Parallels. It outputs a TIF image.

Here’s the thing, the geometry behind how lenticular lenses work is pretty basic. It should be an easy enough task for someone to make a Photoshop script for this process. I didn’t have time to fuck around so I just used what was at my immediate disposal.


Printing

The tutorials that VueThru provides are great, but your mileage may vary. I had to tinker with my printer for a while until I could get the resolution to be acceptable. I found 200DPI to be acceptable, especially if I was only working with <5 frames.

For instance if you have a 10-frame interlaced image, you’re going to need a professional grade printer to get 600+ DPI. I did get a successful 10-frame lenticular from my consumer grade printer, but it would have turned out a lot bolder and crisper if the resolution were better.

Adhering

Not much to say about this, just be steady. Your calibration has to be perfect, and you need to make sure you don’t wind up with any air bubbles. I accidentally got a huge air bubble in one of mine, but with enough squeegeeing and popping it with an exacto blade, it did go away. It’s a lot like applying a vinyl decal. I think it would be helpful to have access to a cold laminator to quickly get rid of any adhesion imperfections.

Trimming

I used an exacto blade to trim down the 8” x 10” lenses down to about 7.75” x 7.75” squares. I had to score it several times before the excess broke off, but when it did come off, it was a very crisp cut. I sanded the corners for a very small border radius.

I didn’t take any process shots of the cinemagraphs, I was in a hurry the whole time! But I made a few more prints with the extra lenses I had when I was done with the others.


I can’t wait to do another set of DIY lenticular prints. I used to think of this process as luxurious, expensive, and highly specialized. This is a rare example of how procrastinating turned out to be a positive experience. 😝

Institute for Psychogeographic Adventure — Experiment 42.000 at The Ringling Museum

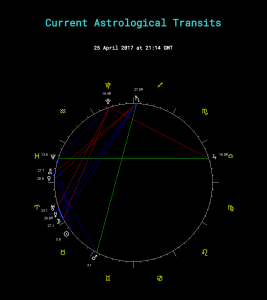
The weekend of March 18th-19th, in a cupboard under the stairs of the Ringling Museum Education Building, I read a total of 45 astrology readings, using software that I developed to generate natal charts.

You can use the software yourself and generate your chart!

Astrology Clock Ringling

I also have an “astro clock” if you’re interested in the current conditions.


Tampa Bay AIGA’s Cut + Paste Event!

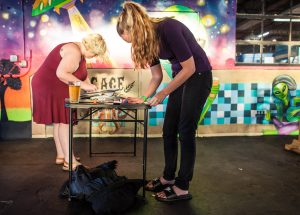
I had a great time in my old college town, St. Pete, last Friday! Lots of old and new faces. Cage Brewery is pretty cool.

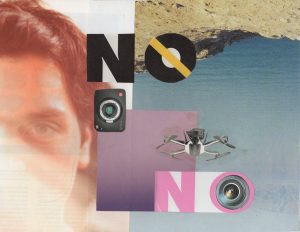
I reeeeally enjoyed the collage competition, but it was also great catching up with folks and gossiping a bit. 🙂 I got Runner-Up, so now I have $20 to spend at AOE Supply next time I’m in Tampa.

I’m excited to get some new supplies because my SUPER COOL CUSTOM SKETCHBOOK PROJECT is nearly done, and I’m excited to post about that process! I’m deliberately refraining from sketching at all until my cover is done, which is rather stubborn of me. ;[

My friend, Savannah, did a write-up about the event!


How I stayed in San Francisco for [mostly] FREE.

Me and my boyfriend, Andrew, spent 12/22/16 – 02/11/17 in beautiful, luxury apartment in Hayes Valley, San Francisco. We enjoyed a huge, comfortable bed, and the company of the sweetest, fluffiest cat in the universe.

Our 21-day trip cost a total of $0.00.*

(* The most expensive parts were free, but obviously we still paid for things like Uber rides, food, entertainment, etc.)

The services you’ll need:

  1. Trusted Housesitters for FREE hospitality.

  2. Southwest Rapid Rewards for FREE airfare.

We didn’t earn this trip right off the bat. It took actual years of investment. But it’s going to continue to pay off. 🙂

First of all, Trusted Housesitters performs a background checks, and asks for 3 personal references up front. Our hosts in San Francisco additionally requested 2 more personal and professional references before finally confirming our gig. Both of our reputations being spotless is something that has taken decades of consistent responsible behavior. I definitely don’t regret it. Now that we’ve done a few sits, we have an ever-growing list of positive reviews on our account!

Additionally, I’ve been using my Southwest card for all sorts of every day purchases for about 1.5 years now, so I have tons of points. Prices were crazy for a ticket right before Christmas, but that didn’t matter to me!


San Francisco was amazing, obviously. I went to a lot of free web dev meetups and ate insane amounts of sushi and burritos. The money I saved on housing and travel went towards my Macbook Pro upgrades.

Over the course of 2017, we’re definitely going to be house + petsitting more. Our next one is coming up in March, and we’ll be looking after a cute puppy in an enormous waterfront mansion in our hometown. After that, we’re hitting the road again for our seasonal van-life adventure! This time we’ll be camping, boondocking, as well as housesitting.


Headed to San Francisco?

Here’s my obsessive Master Map of things to do/see. I didn’t get to everything on this list, but it was helpful for when I was randomly exploring. I guess I have to go back soon!

I upgraded my 2010 MacBook Pro! Here’s how I did it.

I’ve had this enormous 17” mid-2010 MacBook since I started at the Graphic Design program at USFSP. I saved up for it by working for 2 years while I got my AA, and paid for it in cash. I forget the exact amount it cost but it was slightly over $3000.

This machine is easily the most valuable thing I own. For reference, around the same time, I bought a 2002 Ford Focus with 75K on the odometer for $2800. The car is a shitbox. The computer is a child to me. It, uh, literally weighs as much as a healthy newborn, too… but that’s OK with me most of the time.

In 7 years, I did plenty of coding, video rendering, high-res photo editing, archiving and organizing. It became clear recently that speed was becoming an issue. I wasn’t as productive as I know I could be, due to a lot of “beachball” moments, causing me to lose my stride and get frustrated/bored/distracted.

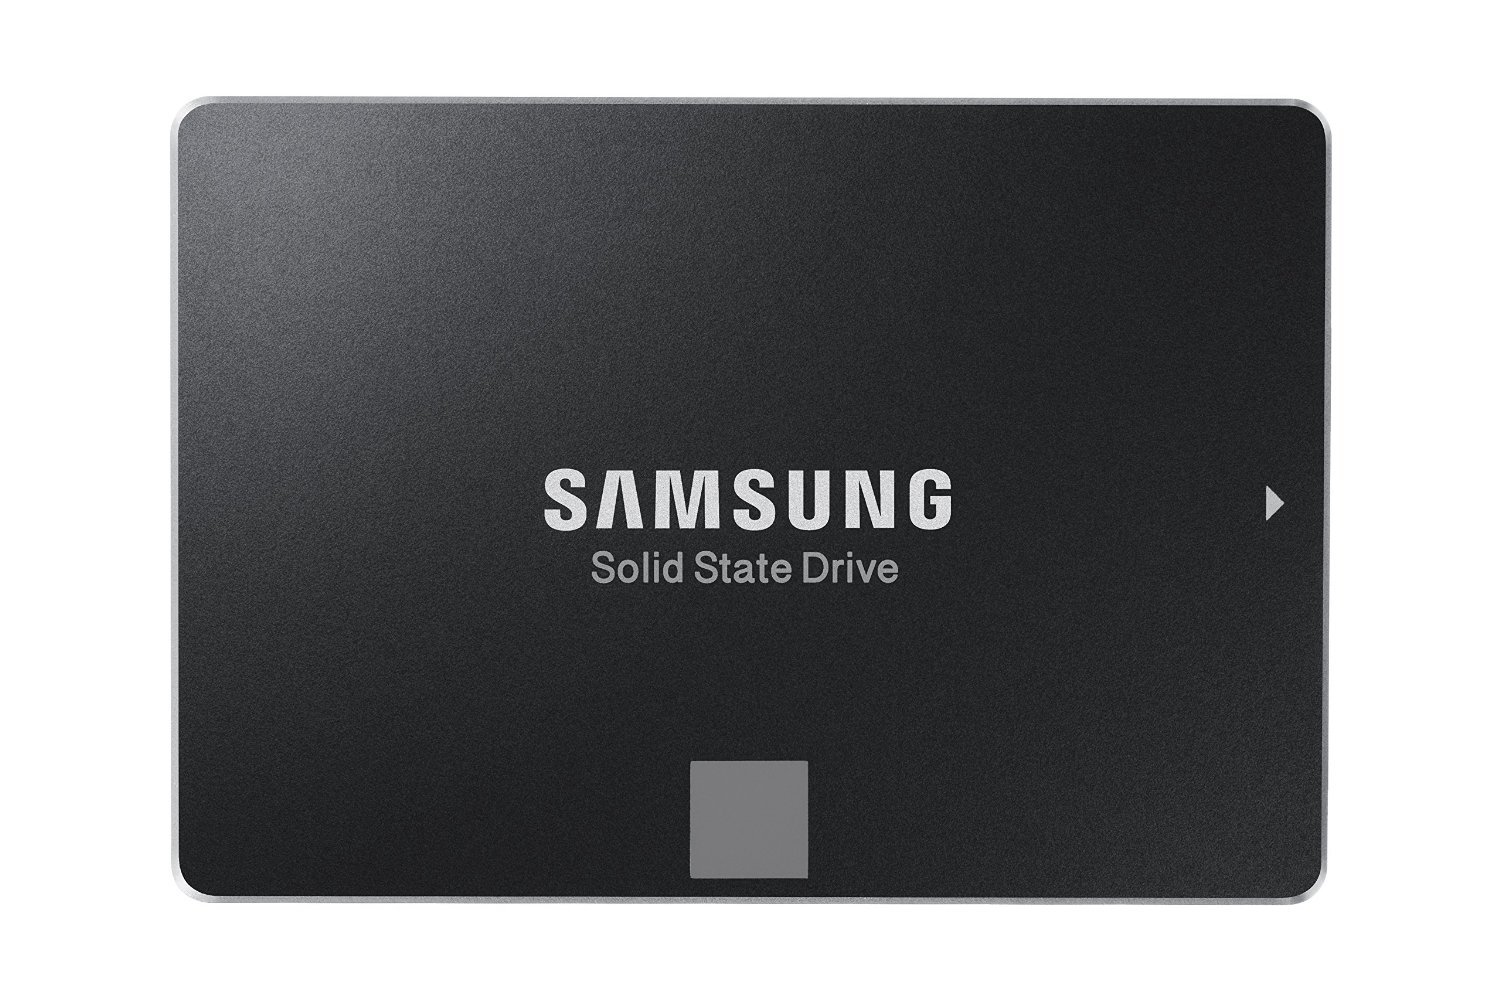
So I did something about it. After some rounds of research, it became clear that the simplest and most effective upgrade was to replace the internal Hard Disk Drive with a Solid State Drive. I shopped around for SSDs online, compared specs and prices, and prepared to drop the cash on it as soon as Christmas was over.

Well, recently, I was in San Francisco for a few weeks, and figured I should at least check craigslist before committing to purchasing one from Amazon or Newegg. There were quite a few good options for sale! The only thing was most of them were being sold by people located in San Jose and other South/East Bay locations, which is pretty inconveniently far from Hayes Valley. I’m not even from SF and I still despise getting on the BART for any reason. I waited it out, assuming someone closer would post theirs for sale soon.

My patience paid off! A few days after Christmas someone posted their 1TB Samsung EVO SSD for sale, only a few blocks away, FOR ONLY $200. This shit normally retails for $320+. We met at Starbucks, I tested the drive, and handed over the cash. I grabbed an Uber to Central Computers in SoMa and purchased a USB-to-SATA cable, a few screwdrivers, and an Optical-to-2.5”HDD adapter. I wasn’t just going to throw away the existing HDD, and since my Optical Drive hadn’t worked for years, I figured I’d just swap those out. I did recycle the Optical Drive responsibly though. 😗

It was a stressful process, like an excruciatingly not-at-all-fun game of ‘Operation’, as I kept dropping tiny screws into caverns and having to shake them out. Over the course of a few hours, I got everything unscrewed, generously spraying Dust-Off to get my girl’s guts spotless, plugged everything into place, put it all back together, and … my life has not been the same since.

It’s miraculous. The boot times are insane. I don’t have the exact stats, but it easily went from 5+ minutes to about 20 seconds. Photoshop pops up a few seconds after launching it. Finder searches are immediate. Even CleanMyMac runs way faster. AND I have 1.5TB of internal storage. I’m currently working on installing Kali Linux to the old Toshiba HDD. I’ll get around to finishing that soon.

I still only have 8GB RAM, a shitty, useless battery, and other olderish-but-still-functioning internal hardware, but this simple upgrade made a massive impact, and it was relatively easy and inexpensive.

Here’s the installation videos I followed to install the SSD and Optical Drive adapter. These are specifically for the mid-2010 MacBook Pro, so be sure to look up your correct model and do your research!

Sarasota Photoset Details [ Vol. 2 ]

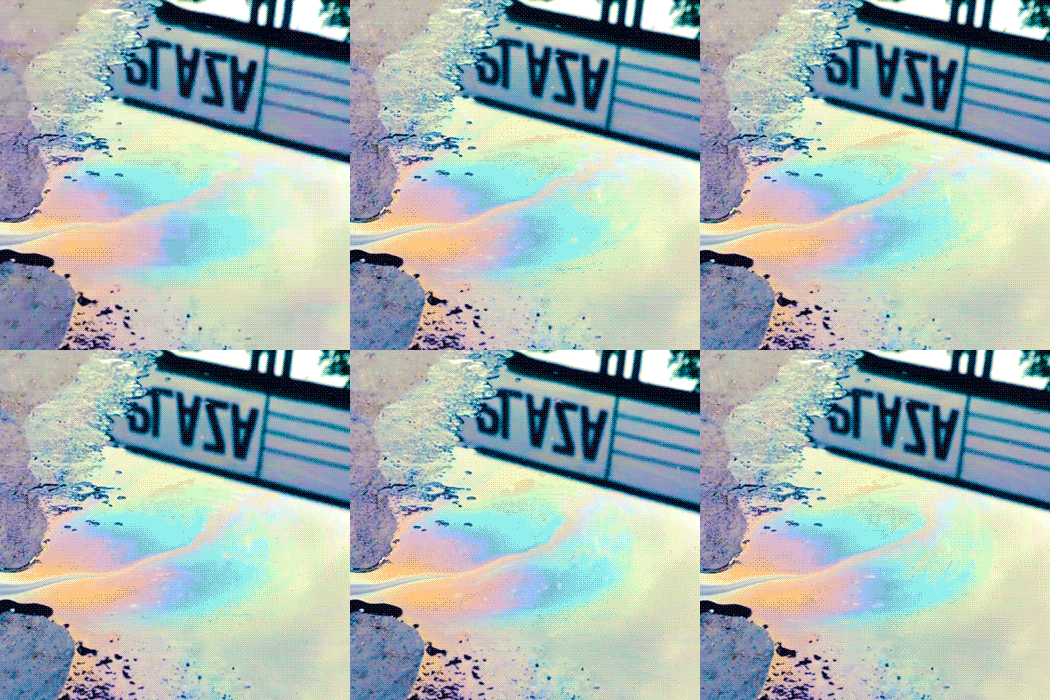
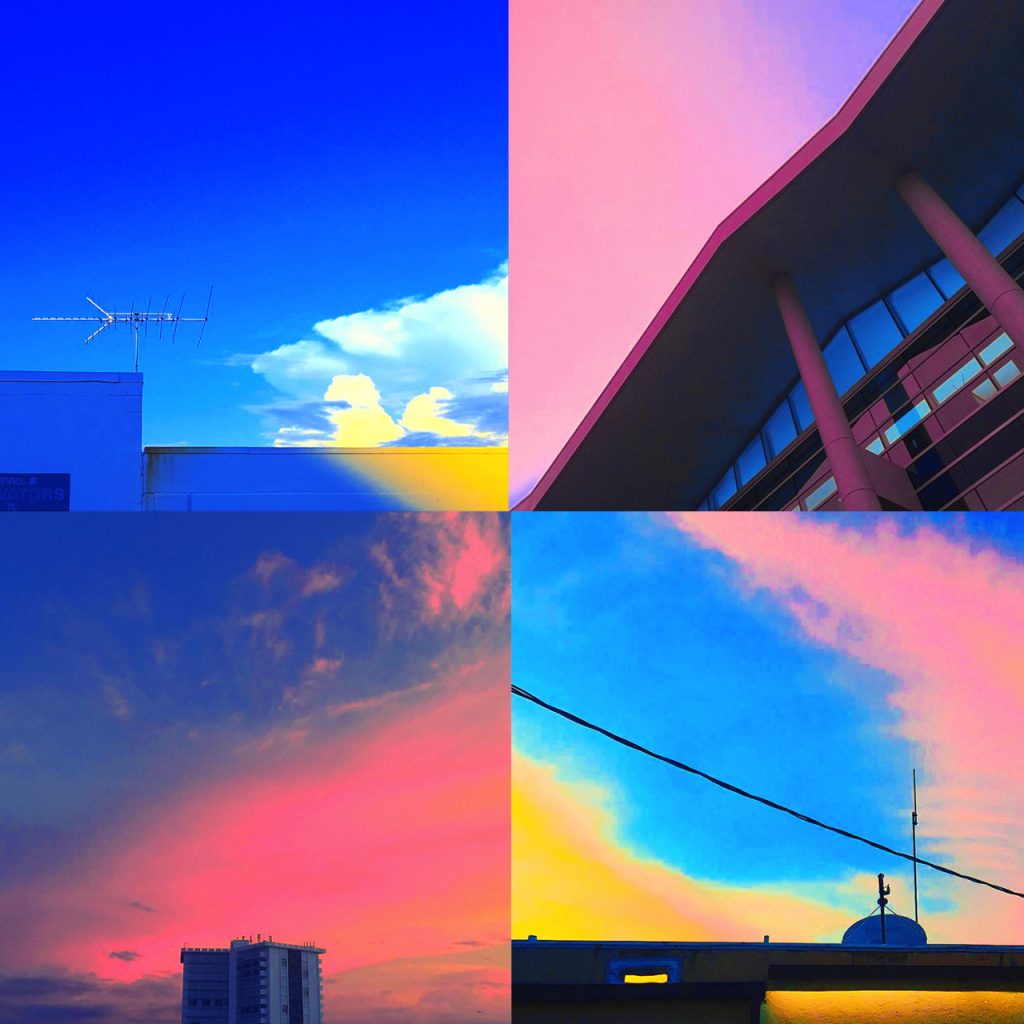
This is yet another color-edited photoset of a few locations in downtown Sarasota, FL. This is the most recent of numerous photosets I’ve collected from my shots that have similar light and hue. Be on the look out for more!

Caitlin Burns Sarasota Photography


Same as my previous photoset, this composition is now available in my shop! It’s printed on 65lb. holographic, glossy paper. It fits in a standard 7”x7” frame, similar to this one. I think these shots would look great individually framed, which can be arranged with a special order.

Locations in Sarasota

top-left — Top of the Sarasota Main Plaza.
top-right — The Sarasota Herald-Tribune Building.
bottom-left — Lido Key’s North Towers.
bottom-right — Spooky roof of the 7th St. 7/11.

Here is a Google Map of where I took these photos.